Army Men 2.5D games: Step by Step
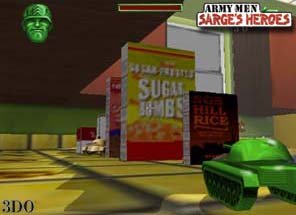
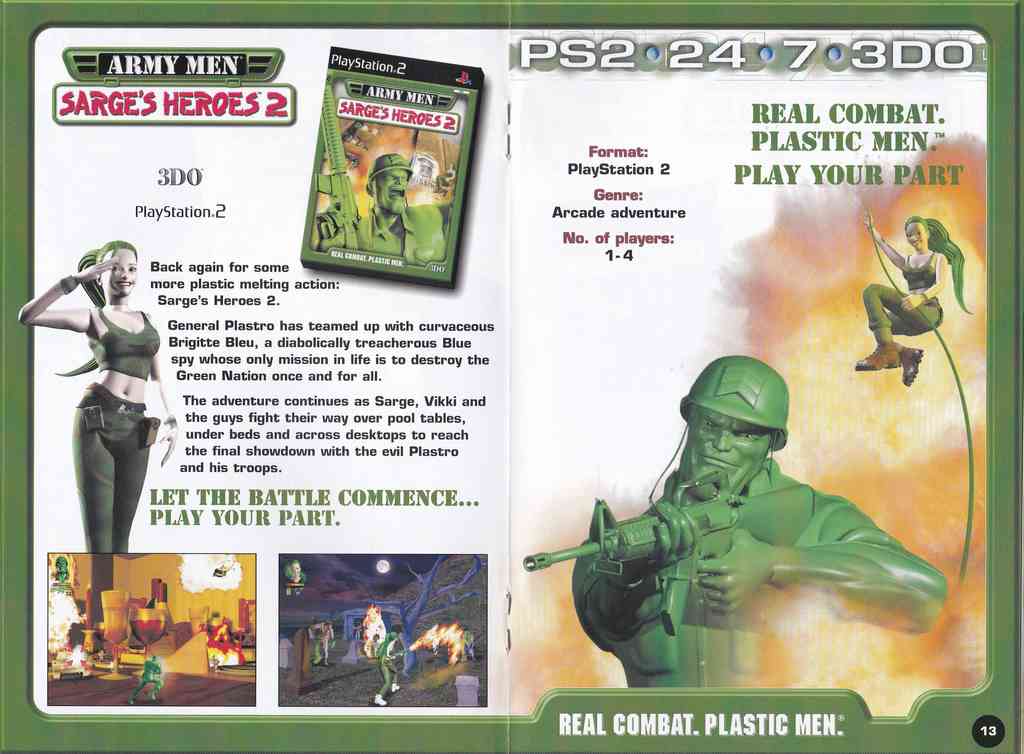
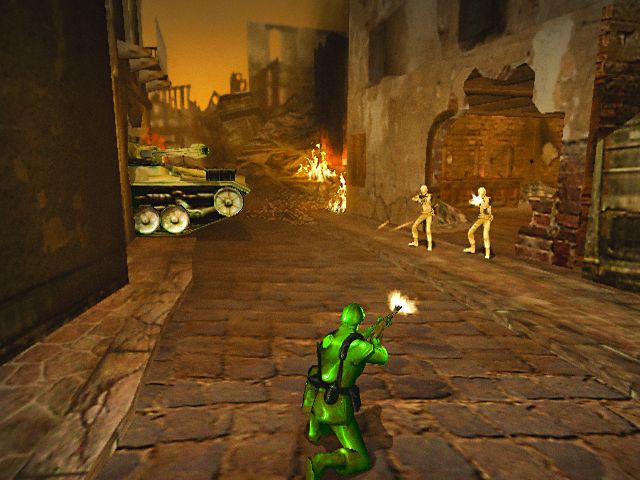
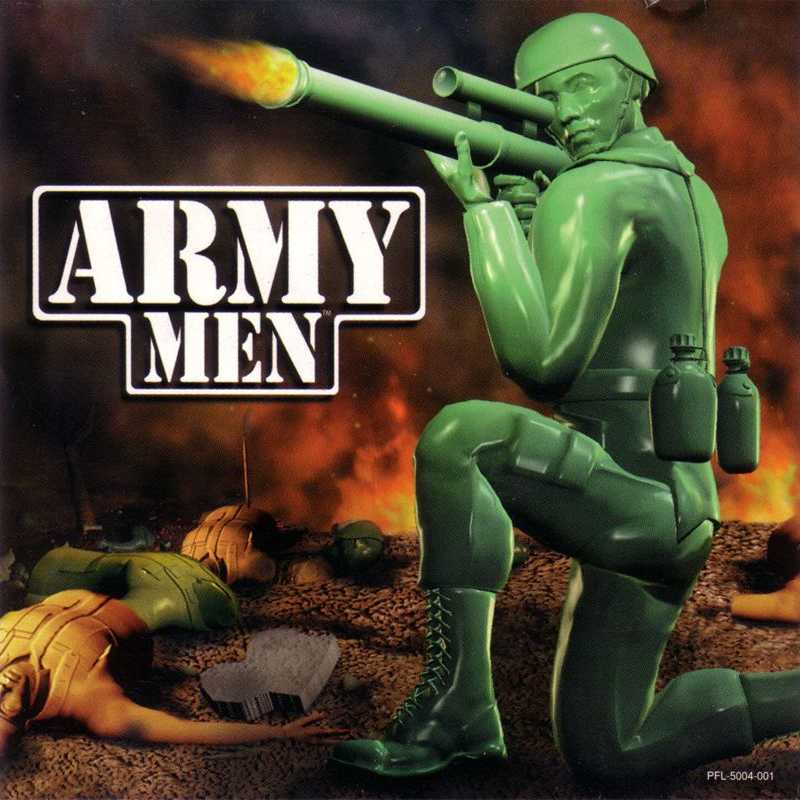
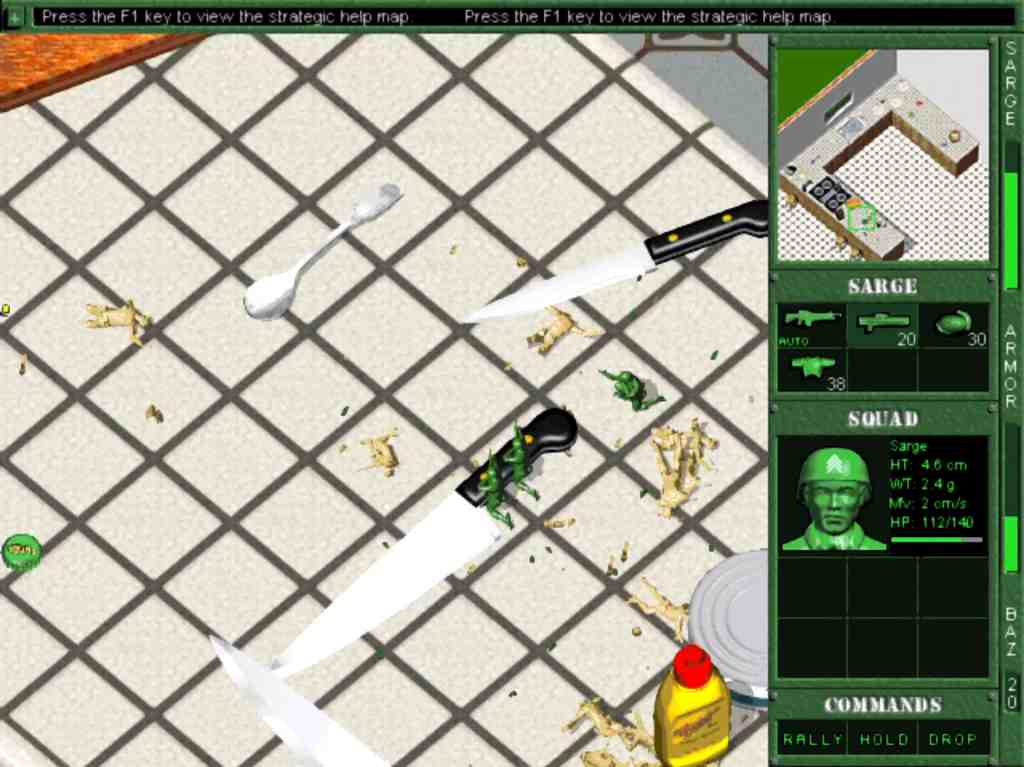
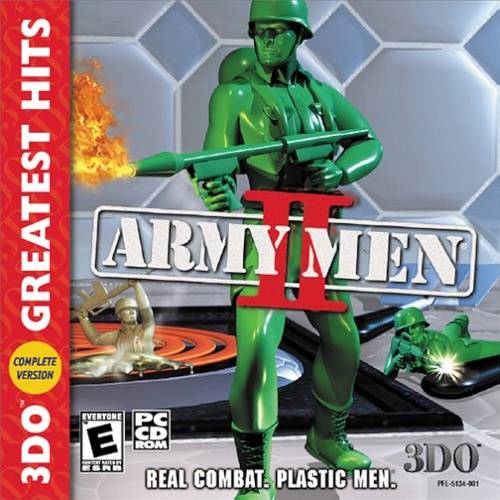
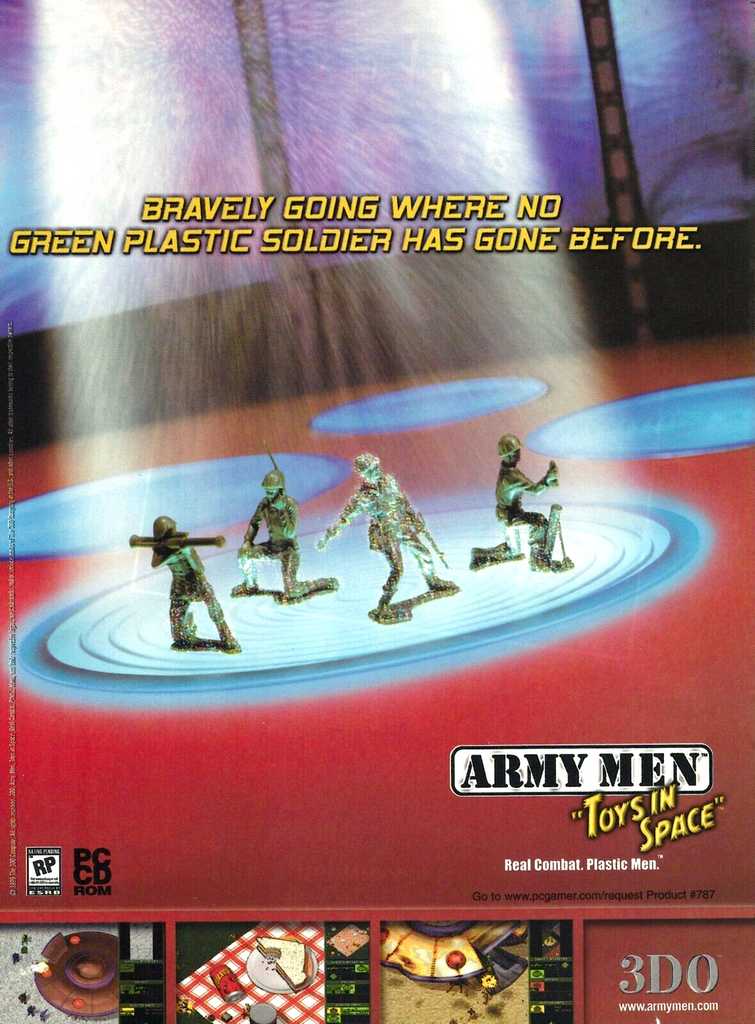
The first Army Men games, Army Men (1998), Army Men II (1999), Army Men: Toys in Space (1999), Army Men: World War (1999, PC version), and Army Men: Air Tactics (2000) were developed by The 3DO Company during the late ’90s. These titles were created for PC, though some would later be adapted to consoles.


At the time, 3DO’s internal development relied heavily on a mix of 3D modeling tools, custom engines, and asset pipelines tailored for low-end consumer hardware. Each game was built with a relatively short development cycle (often under a year) requiring assets reuse, modular design, and a streamlined production process.


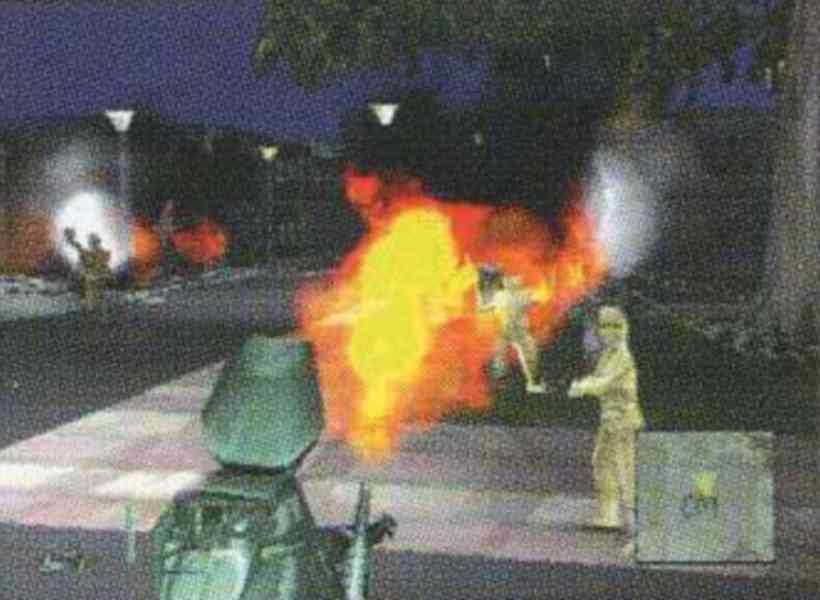
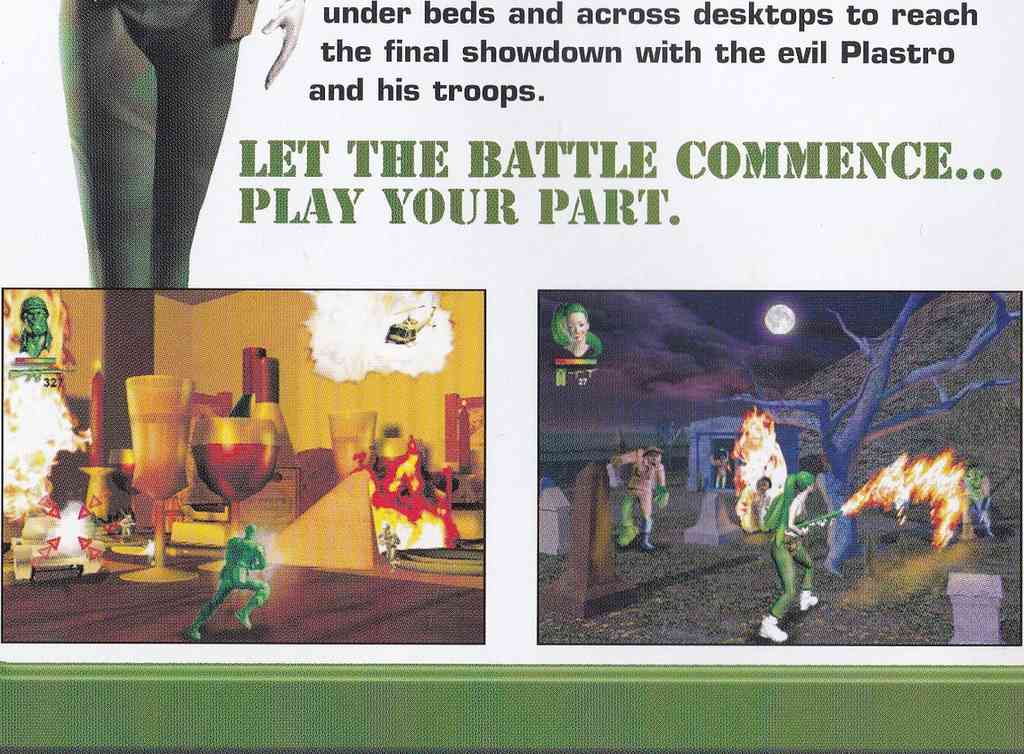
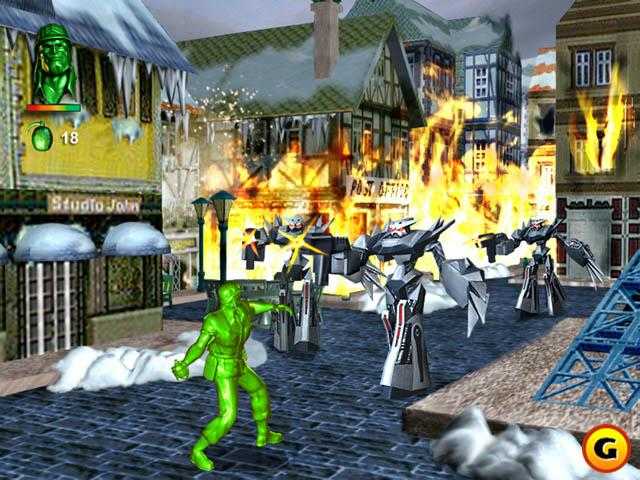
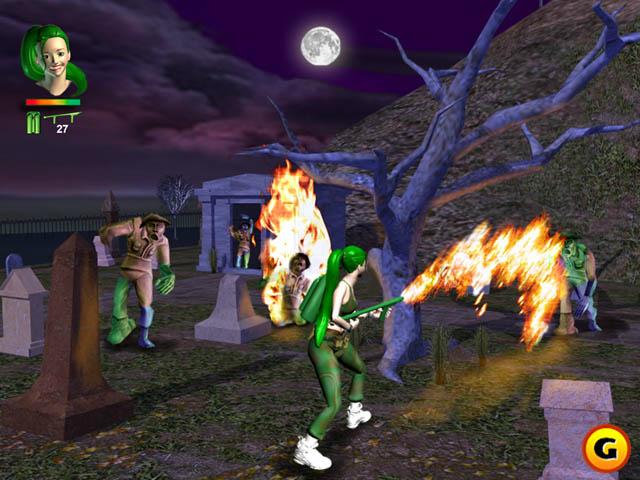
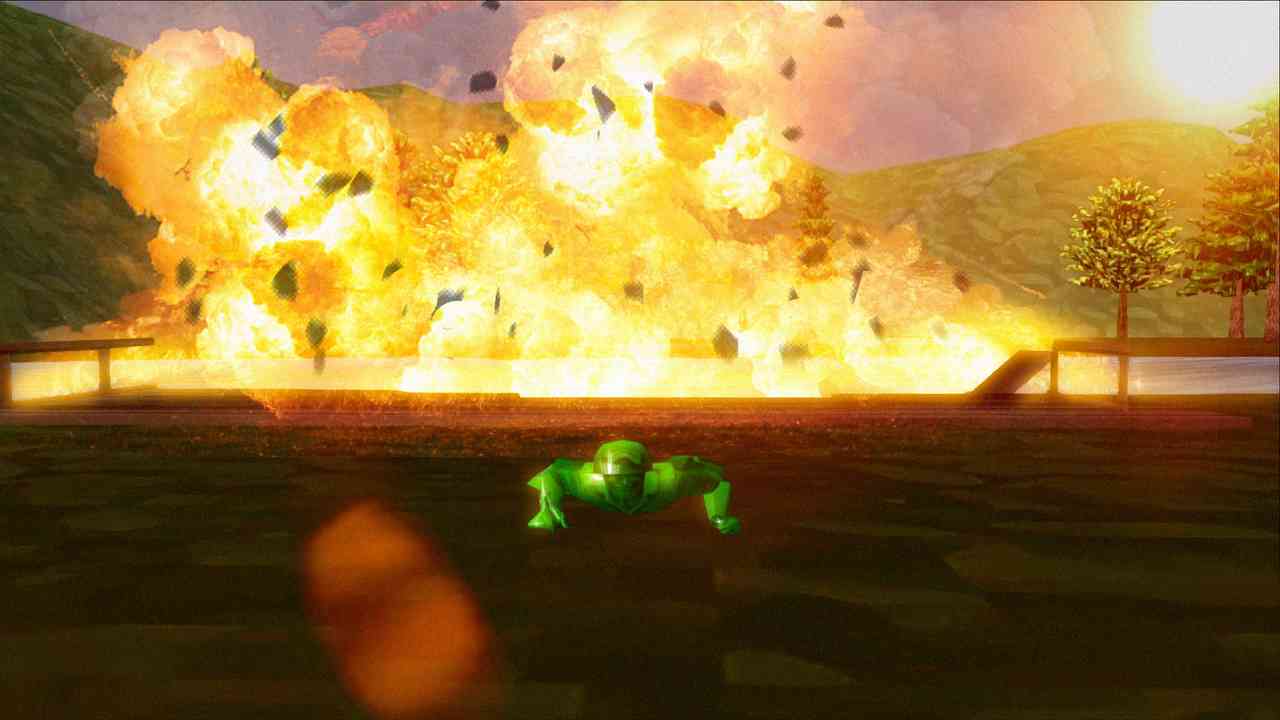
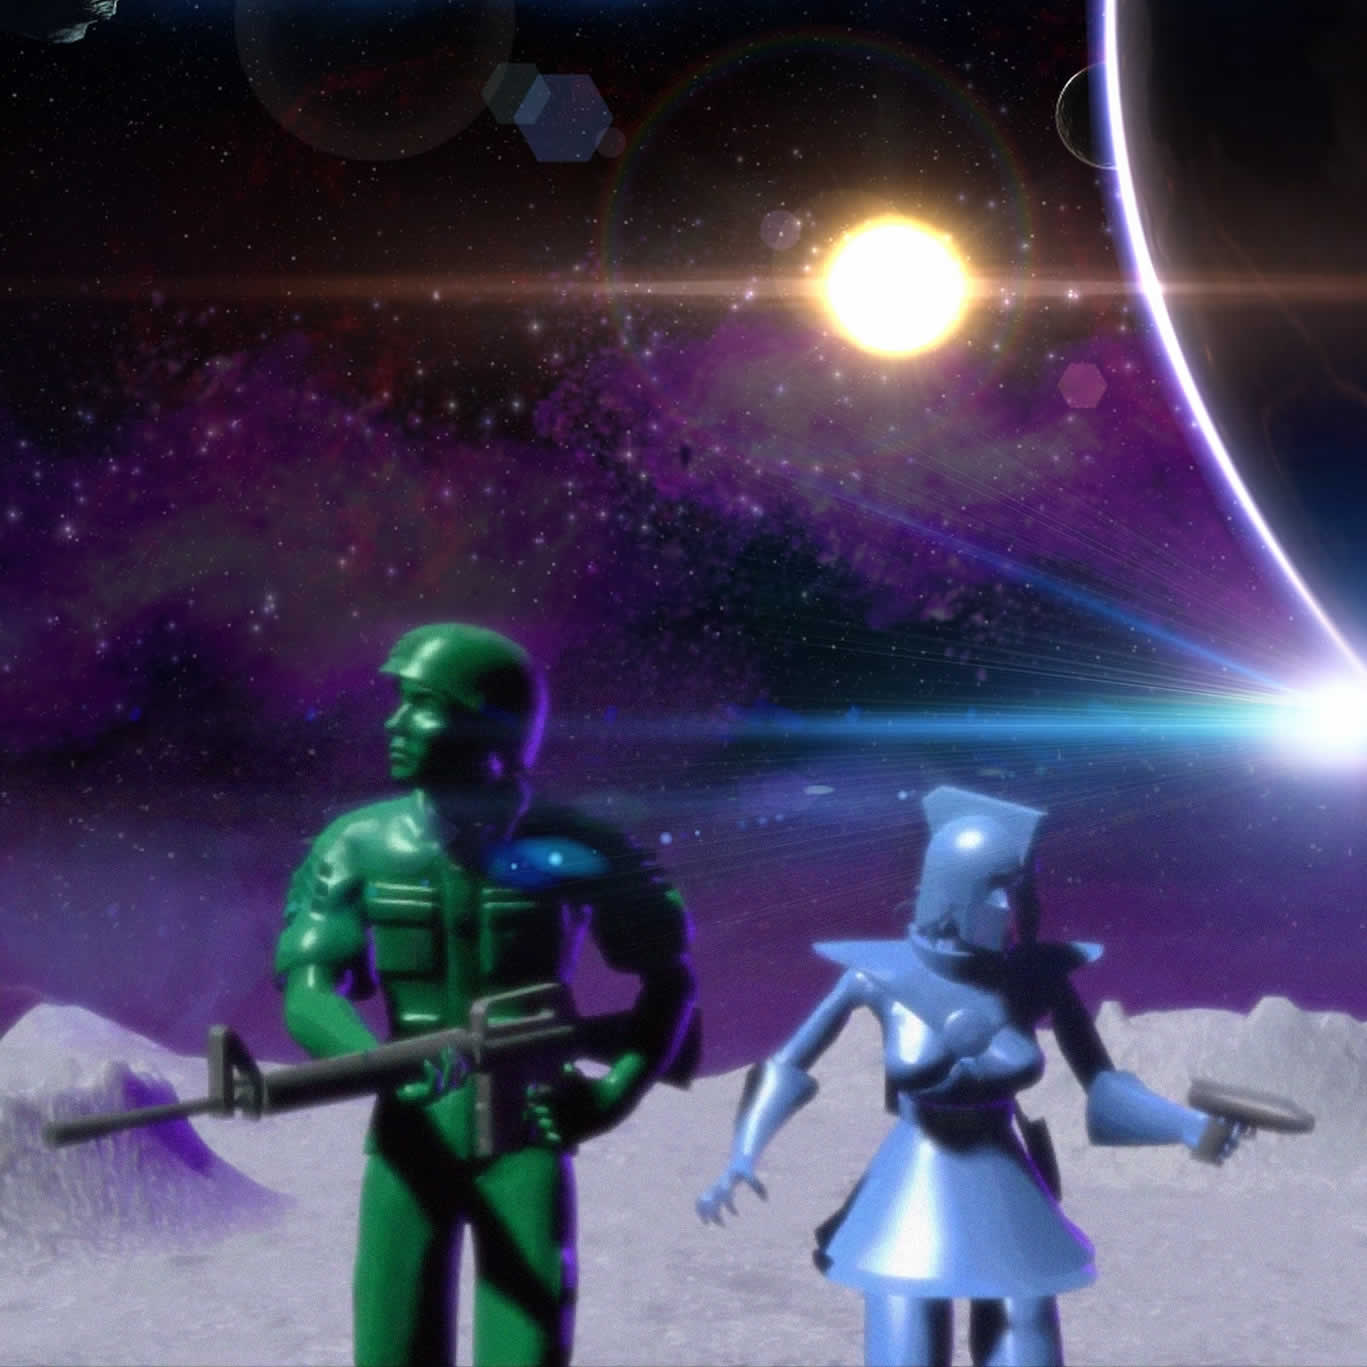
The visual style combined pre-rendered 3D elements (created in 3D Studio Max software) with in-game sprites and textures, carefully optimized to run within the memory and performance constraints of computers of the time. Meanwhile, cutscenes and promotional material often featured higher-quality renders that were directly representative of in-game graphics.


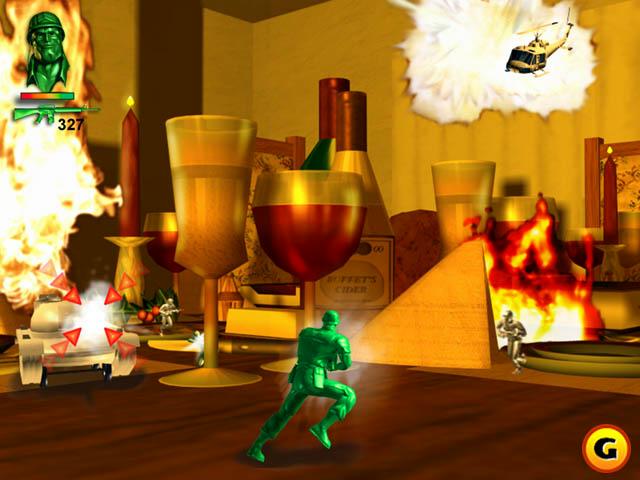
The combination of these production methods, rapid iteration, and the particular creative direction of 3DO’s art team gave the early Army Men titles their distinct aesthetic… halfway between miniature toy realism and stylized video game worlds.
1. Concept and Scripting
Designers began with a concept document defining the environments, enemies, mission objectives, and available weapons.
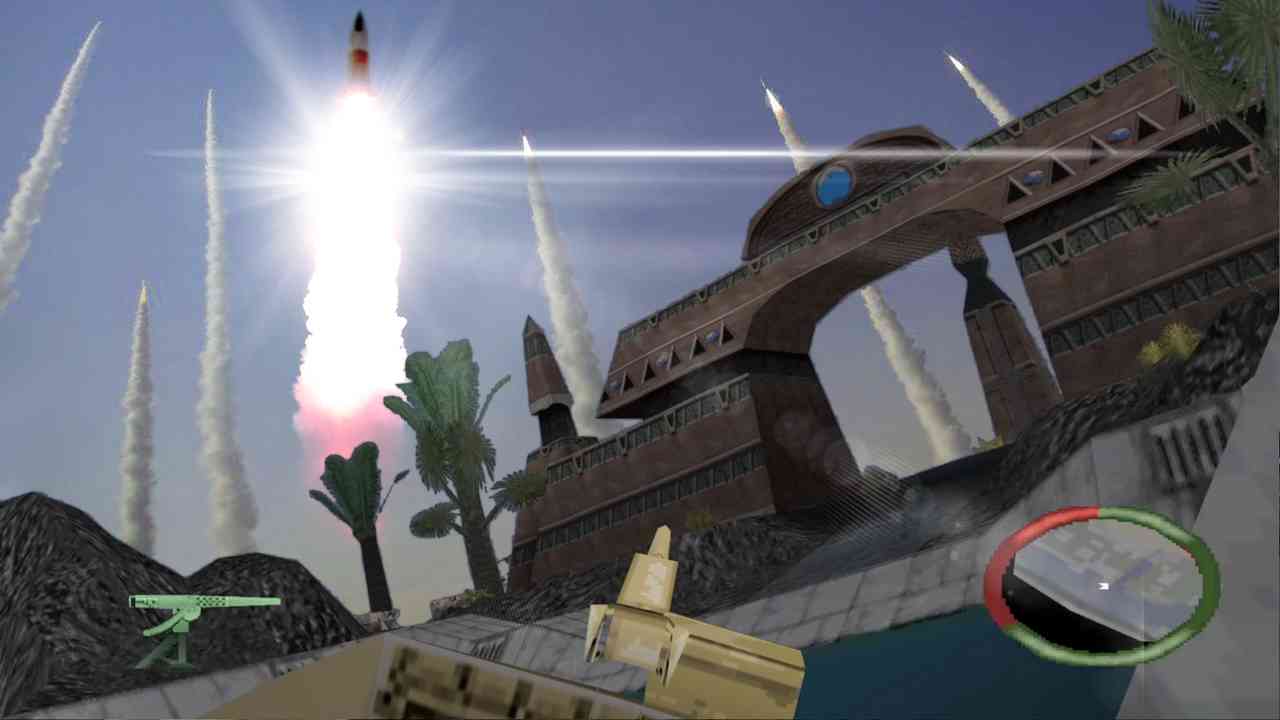
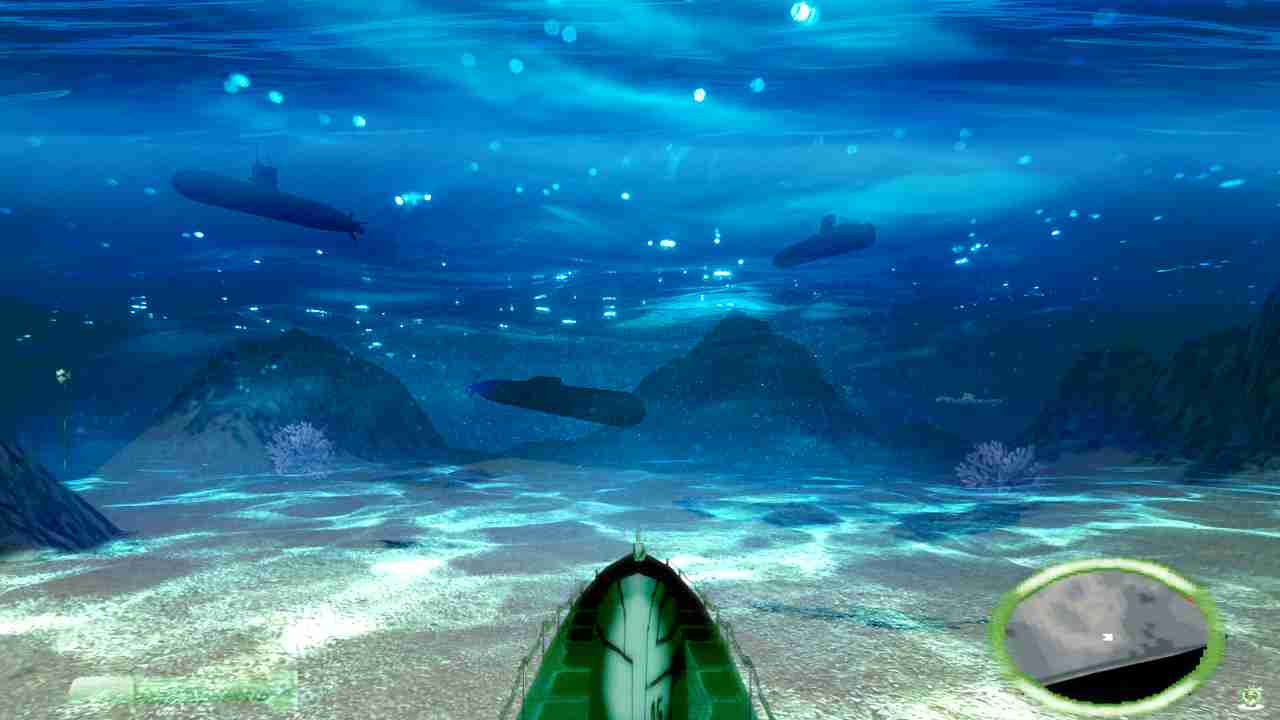
These documents were usually very functional, focusing on mechanics before narrative (although Toys in Space and Air Tactics had more elaborate storylines).
The narrative script and dialogues were written in parallel with level planning so the story wouldn’t interfere with technical limitations.

2. Creation of 3D Assets
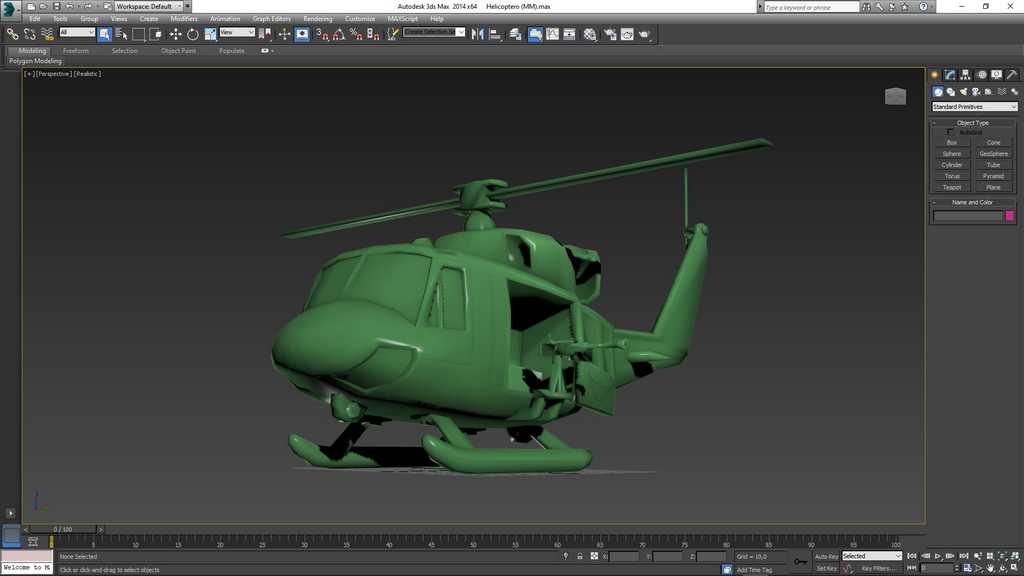
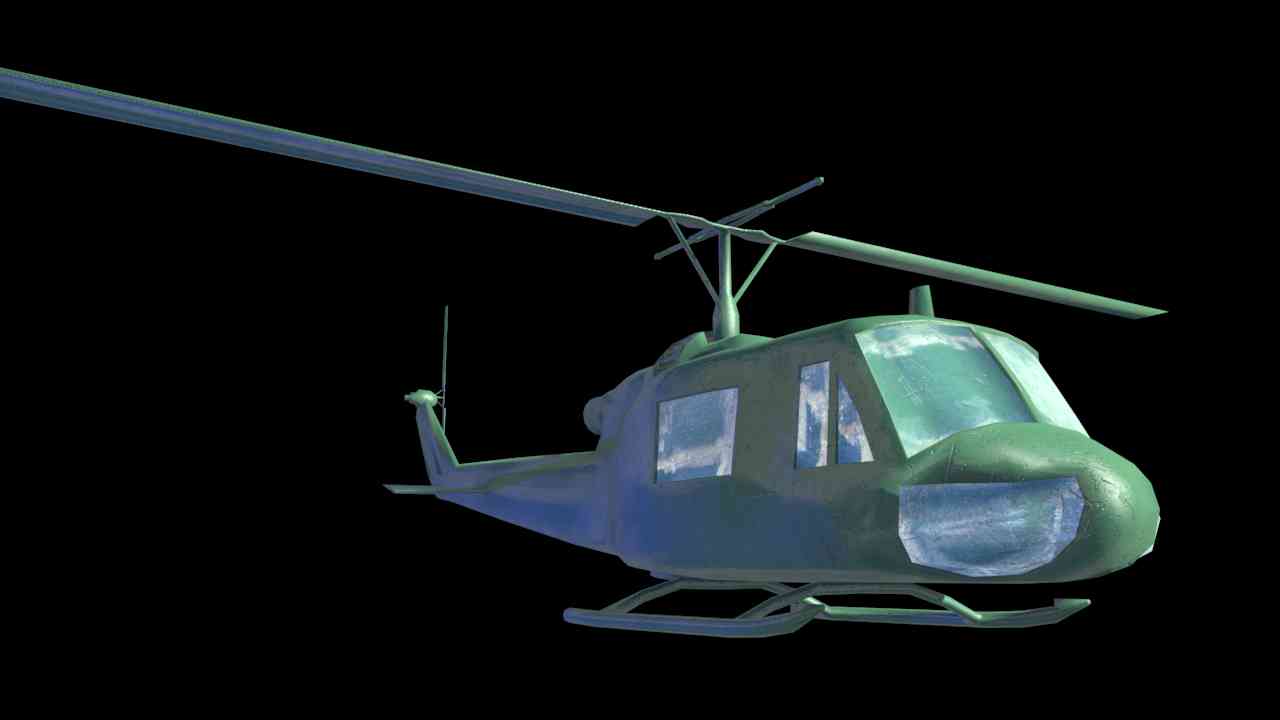
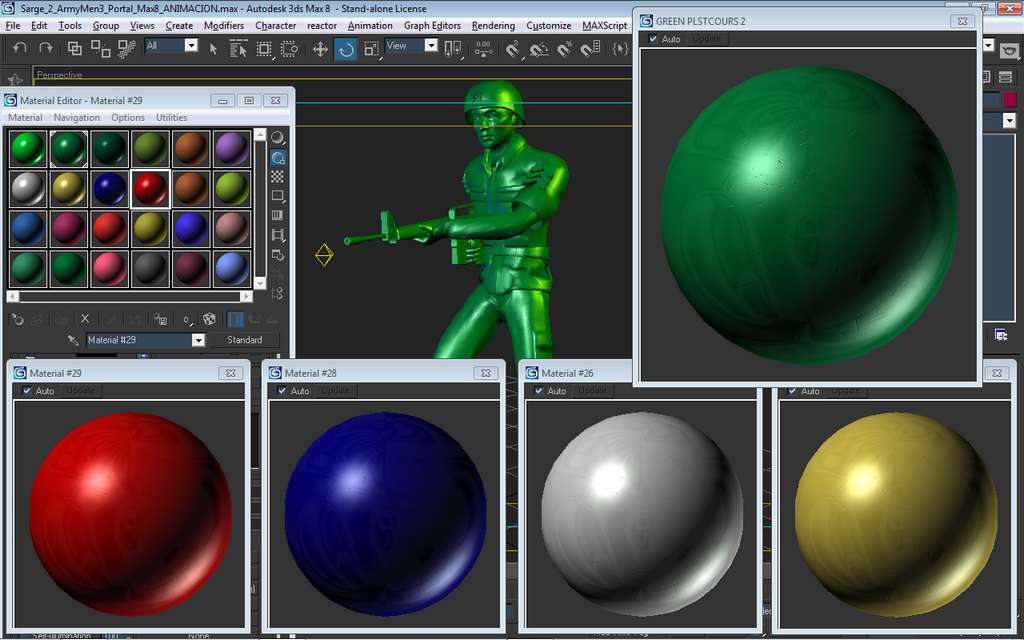
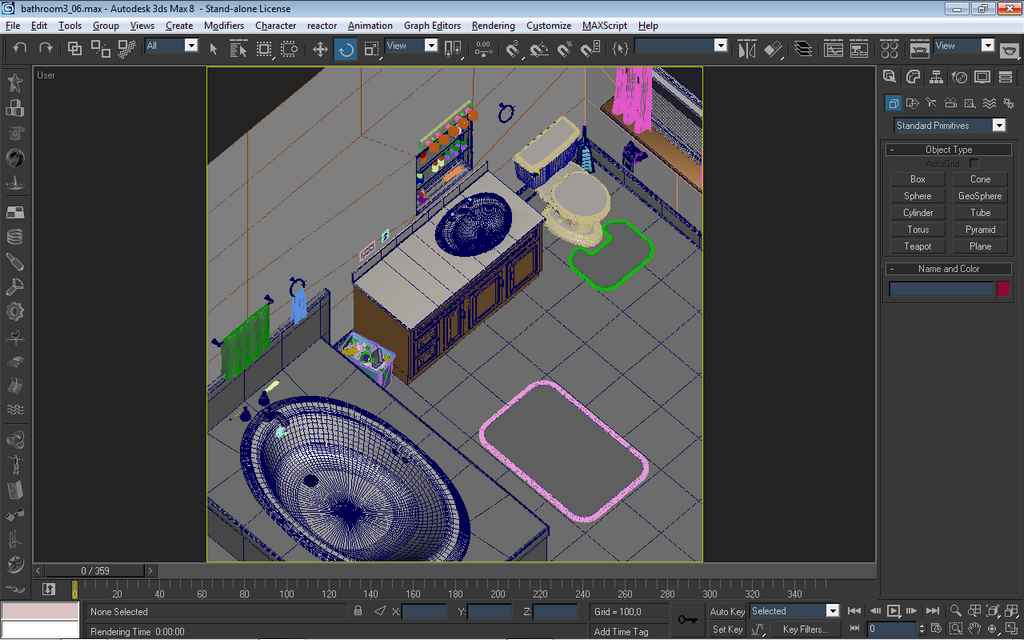
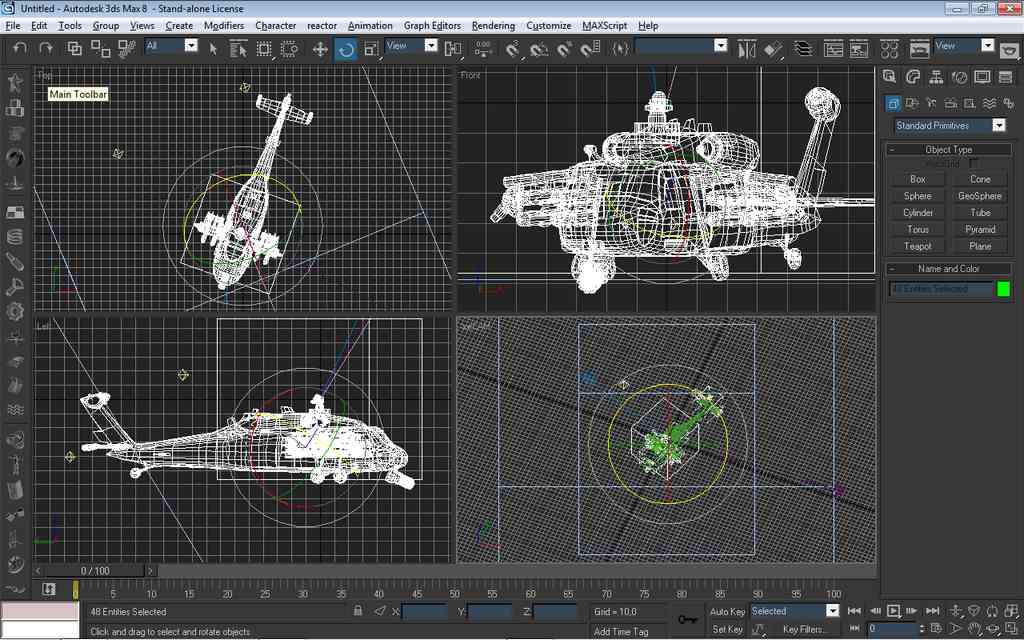
Models of soldiers, vehicles, and environments were made in 3D Studio Max.

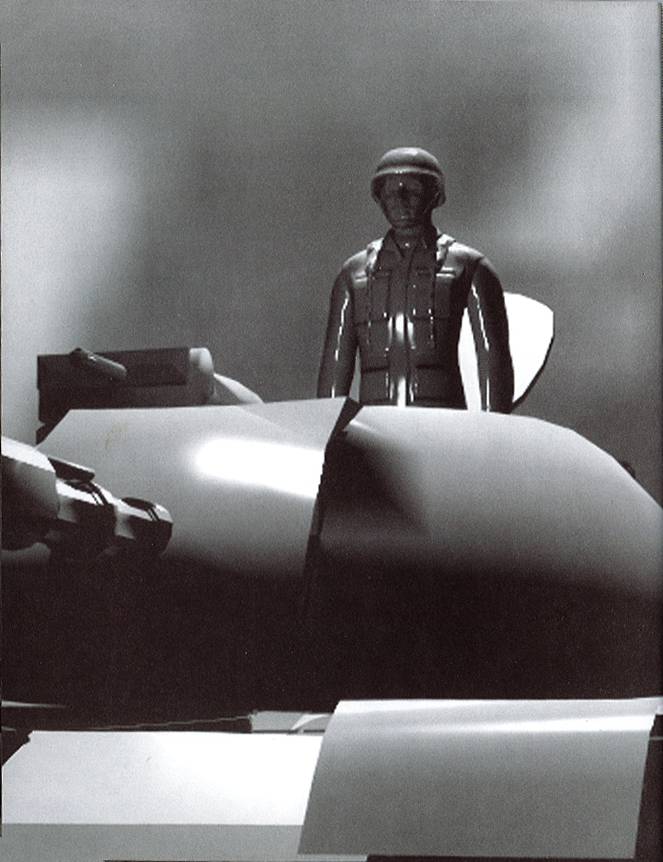
Although the final game used highly simplified sprites, high-quality 3D model versions were created for marketing renders and cutscenes.
The models were “baked” into sprites or textures, trimming polygons and reducing color palettes to fit within RAM and VRAM limits at the time.
It’s important to note that the 2.5D Army Men games were developed exclusively for PC; console versions used different adaptations of the game engine and design approach.
So… how?
2.1 – 3D Modeling and Texturing
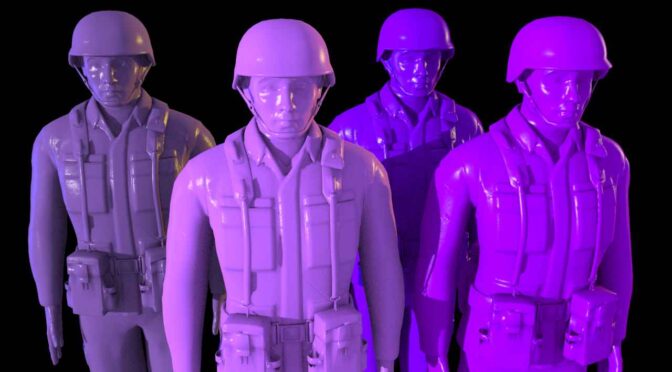
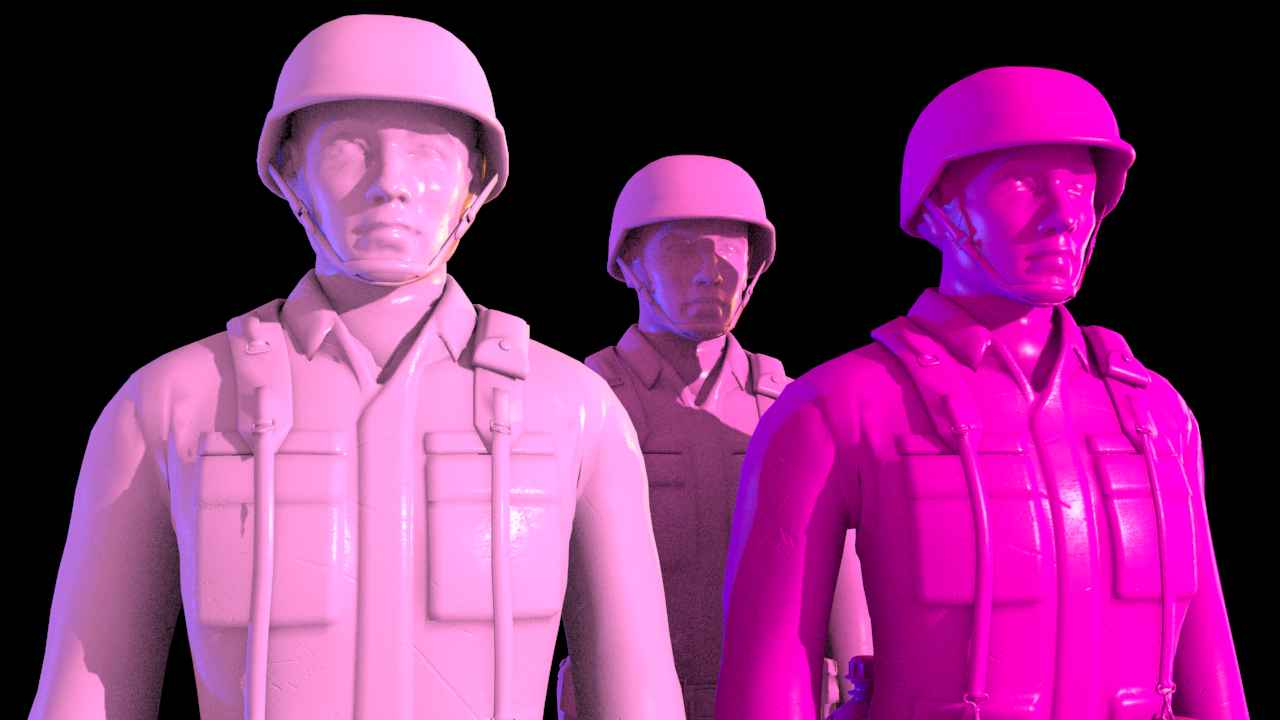
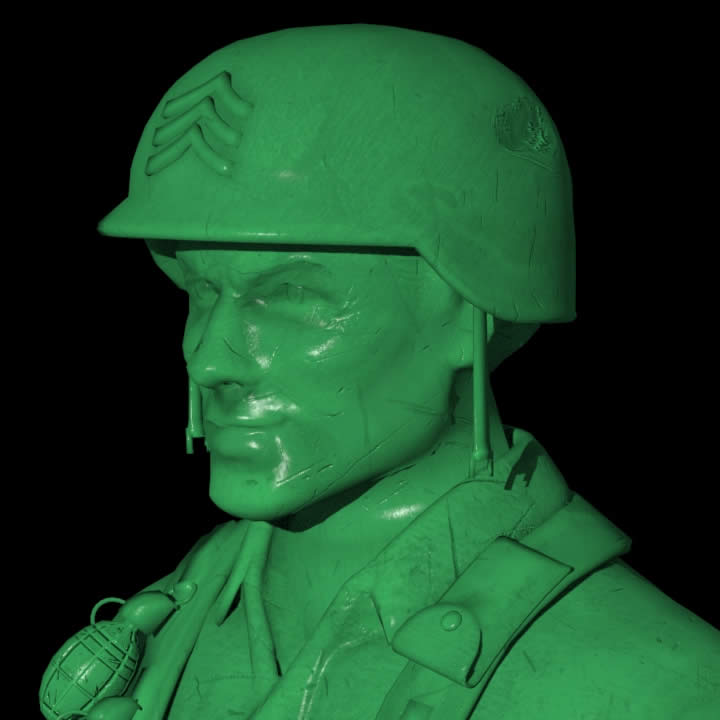
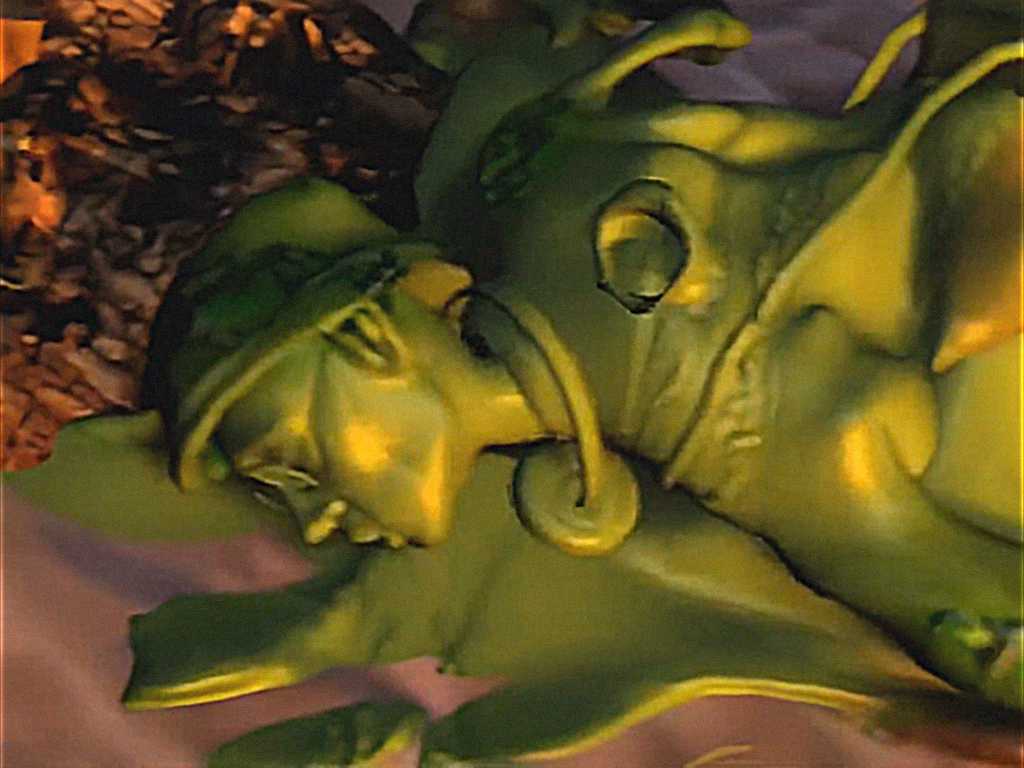
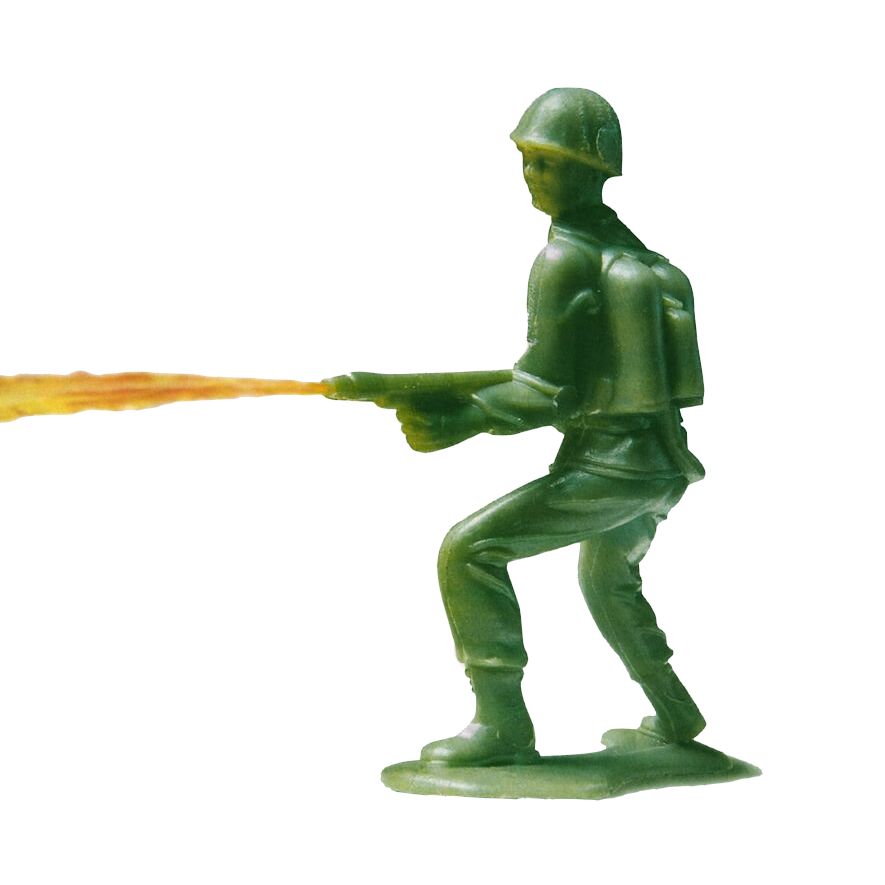
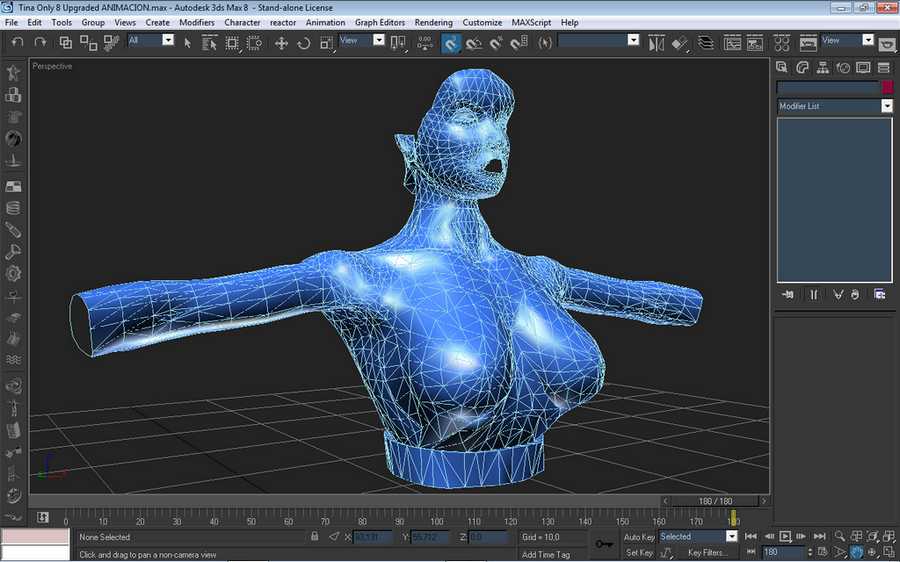
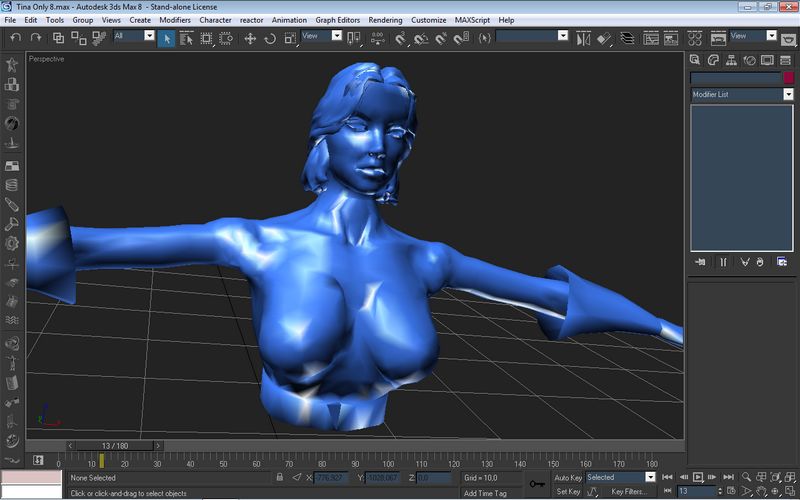
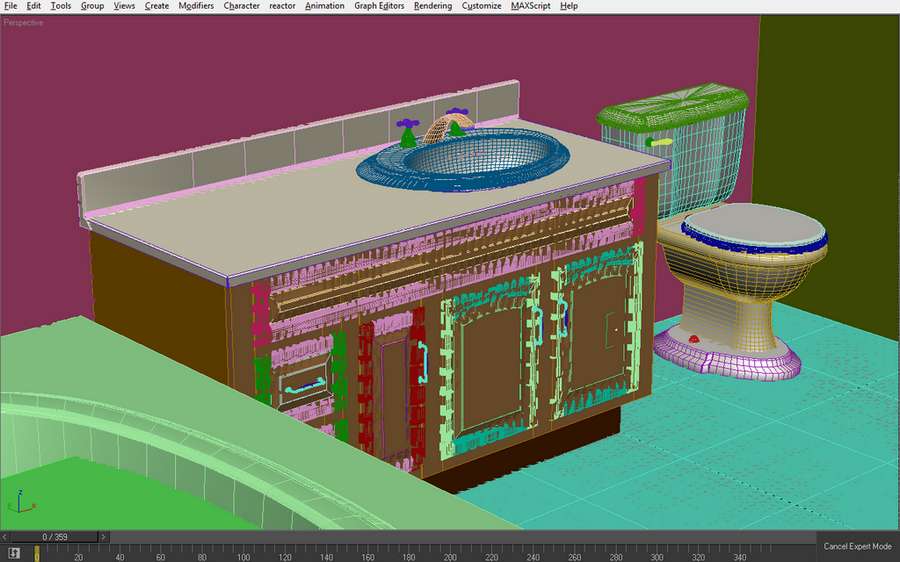
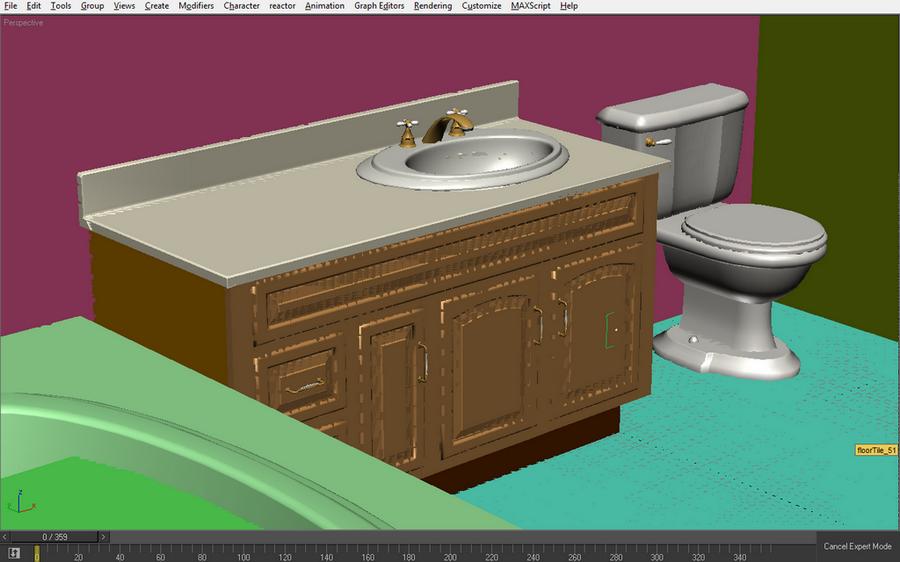
The visual production of the early Army Men titles was a meticulous and multi-step process that combined 3D modeling, detailed texturing, and careful sprite rendering. Development teams began by designing each character, vehicle, and object as a fully realized 3D model in 3D Studio Max. These models were built with more geometric detail than the final games would ever display, ensuring that the rendered sprites would look crisp and convincing even at the relatively low resolutions of late 1990s PC games.
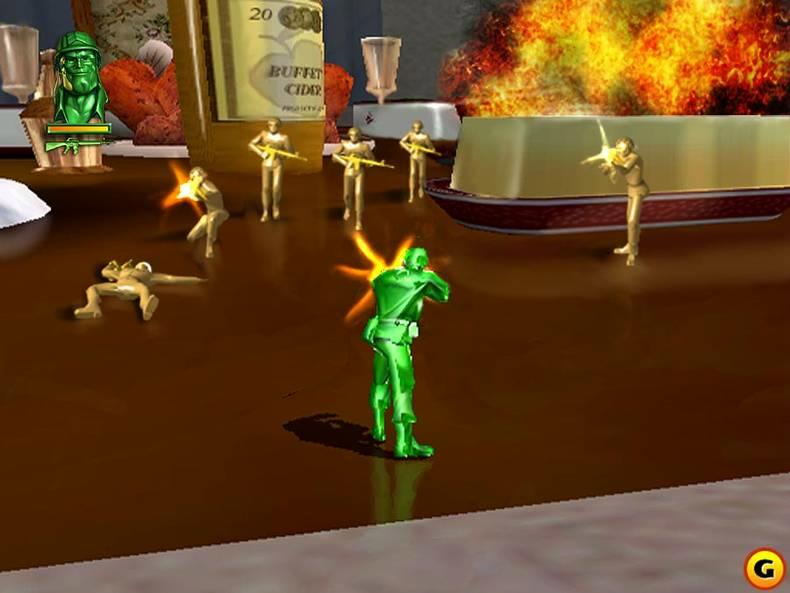
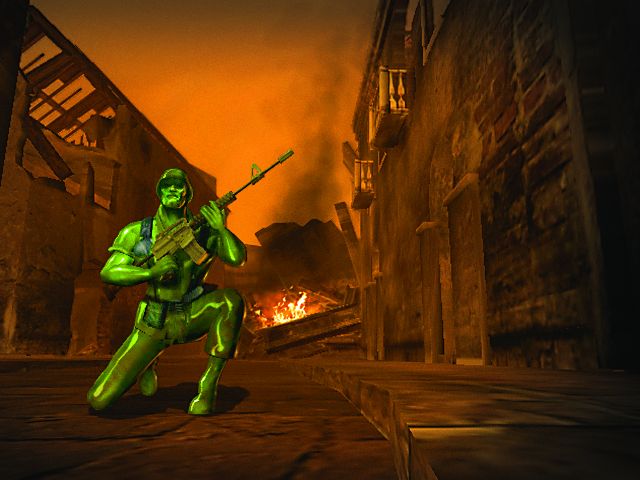
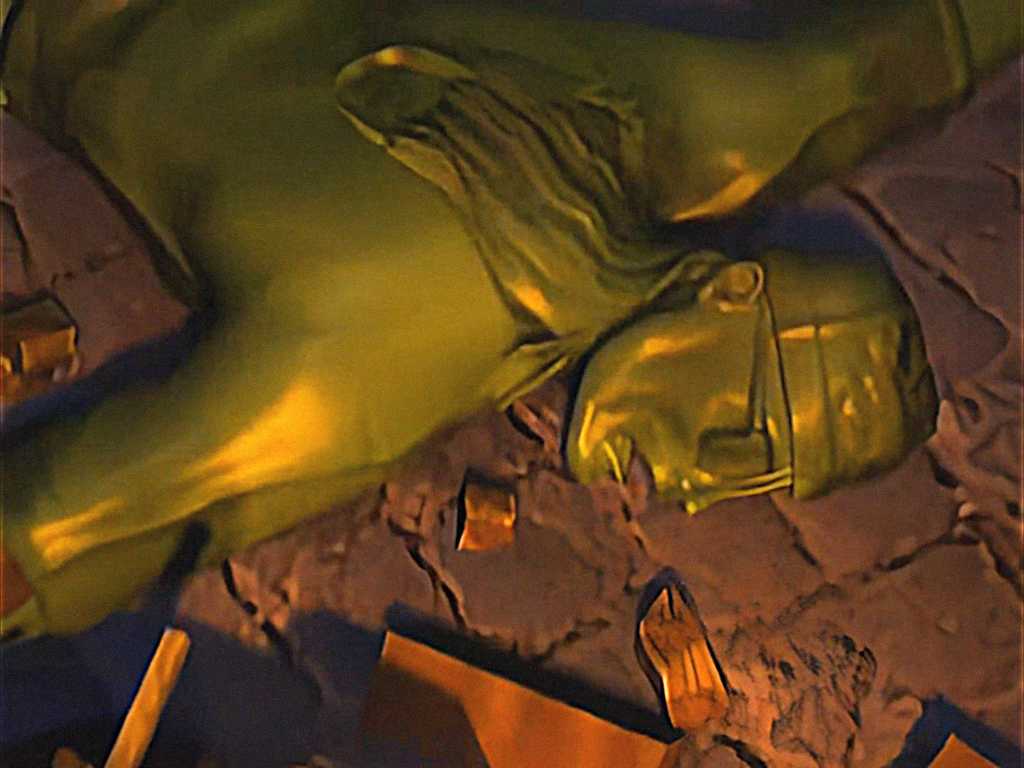
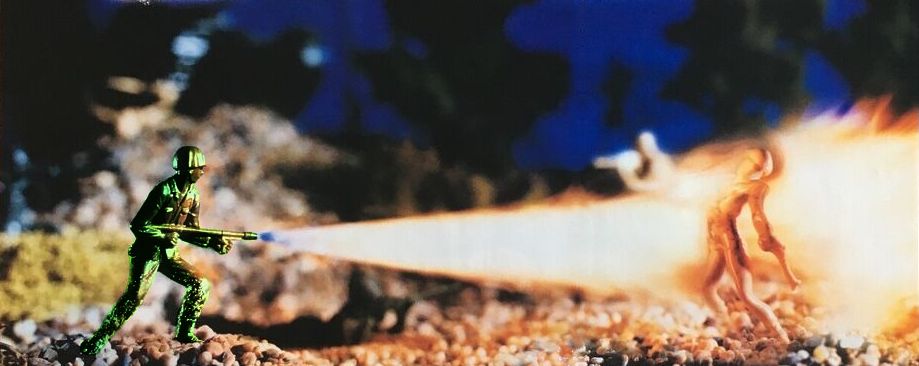
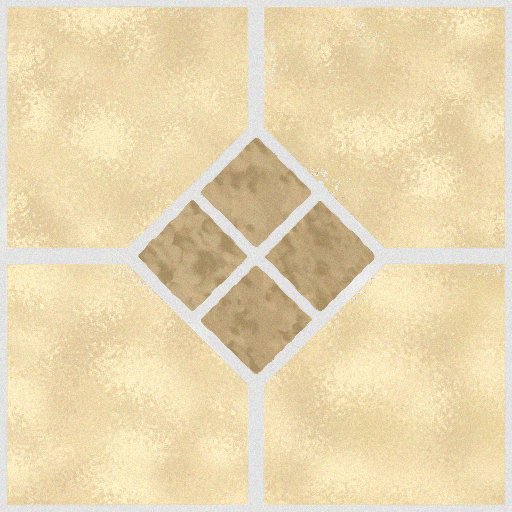
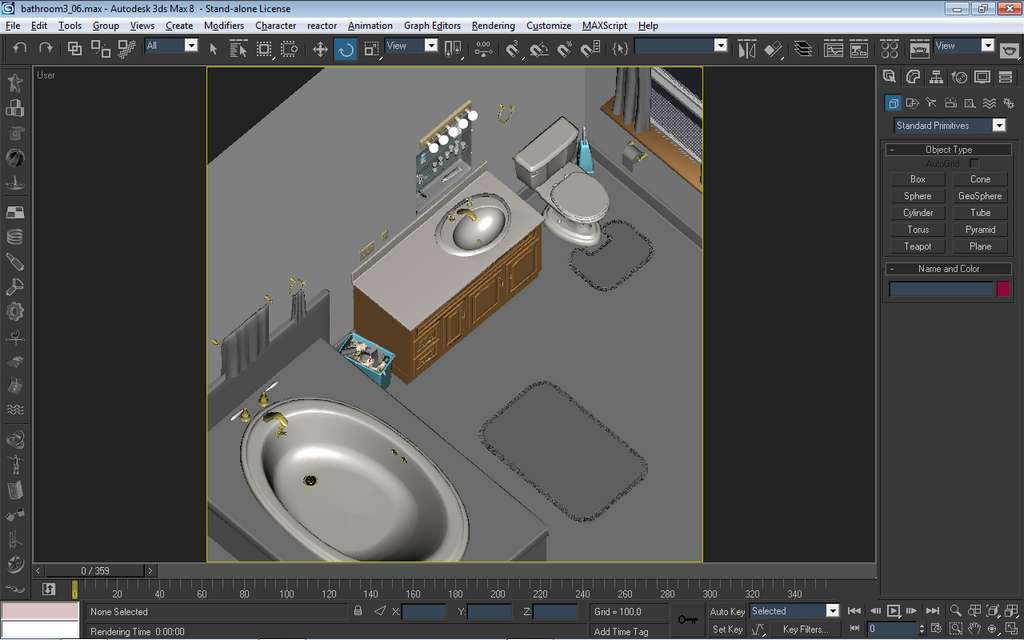
Textures were then painted by hand or derived from scanned materials, giving plastic surfaces their distinctive molded look. Special care was taken to simulate the subtle light diffusion and shading characteristics of plastic, which gave the Army Men their iconic, toy-like presence. Vehicles, buildings, and environmental props followed the same pipeline, often modeled with exaggerated proportions to read clearly from the game’s fixed viewpoint.
- The process began in 3D Studio Max, where artists modeled soldiers, vehicles, weapons, and environmental props in full 3D.
- Although the game ultimately used sprites (2D images), the models were initially built with full geometry, high-resolution textures, and realistic proportions for marketing renders and cutscenes.
- Textures were painted by hand or generated from photographic references, then downscaled and palette-limited to fit the technical constraints of the game engine (often 256 colors per set).
- Each model was rigged with basic skeletons in Max’s “Biped” system for posing, not for real-time animation. All movement was baked into pre-rendered sequences.
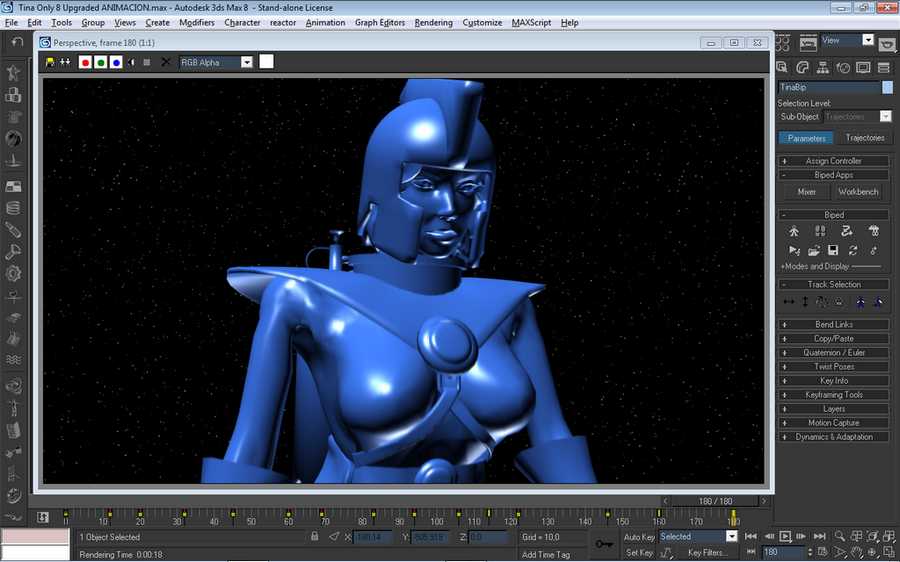
Once modeling and texturing were complete, the development team moved to the rendering stage. Instead of importing the 3D models directly into the game engine, they were pre-rendered into 2D sprites. This technique allowed for a higher level of visual fidelity than real-time 3D of the era could achieve on average home PCs. Animations (such as walking, firing, or rotating turrets) were rendered frame-by-frame in 3D Studio Max, then exported as sprite sheets to be used in-game. Special effects like muzzle flashes, smoke, and explosions were often created as separate rendered sequences and composited on top of the base sprites.
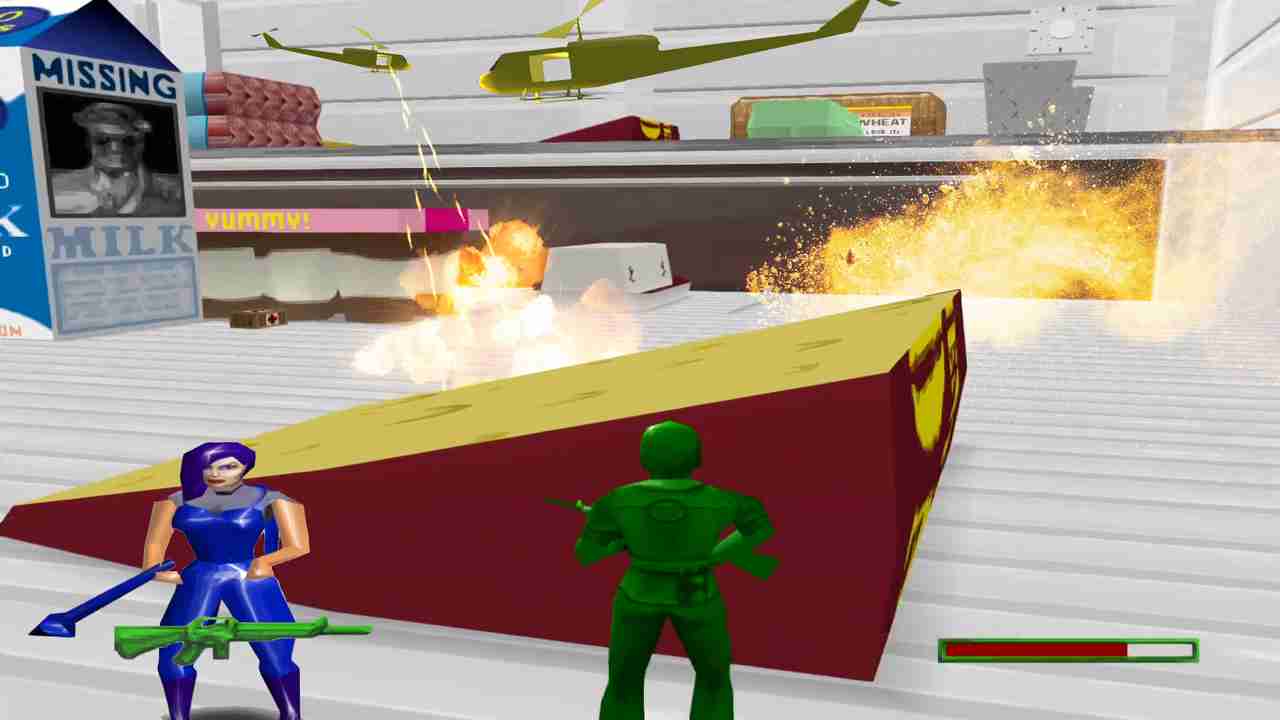
2.2 – Environment Creation
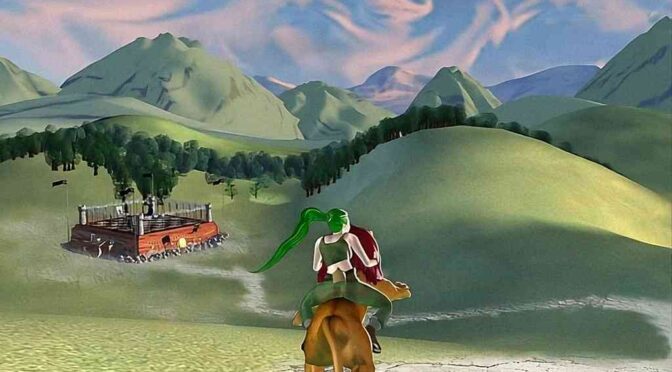
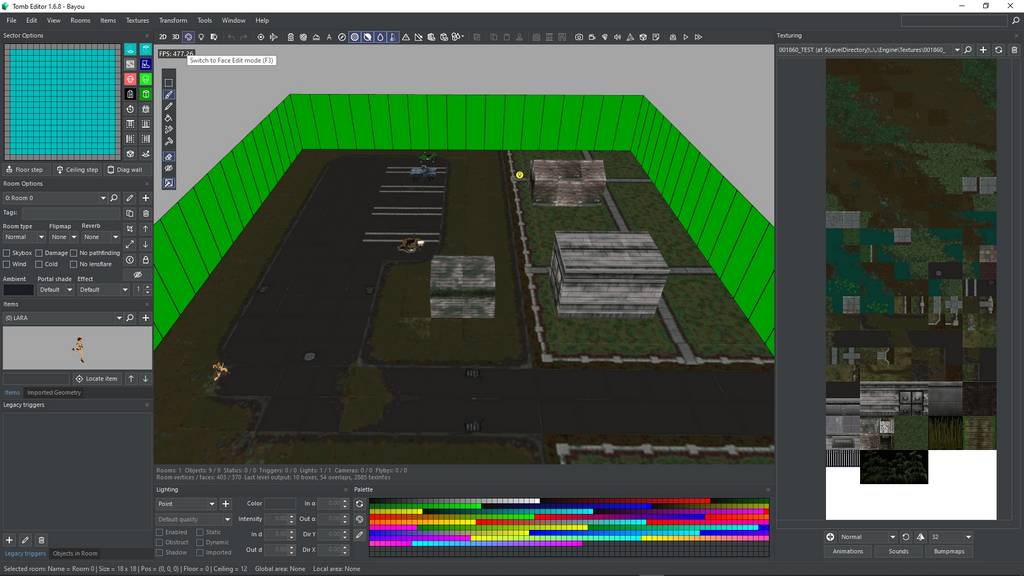
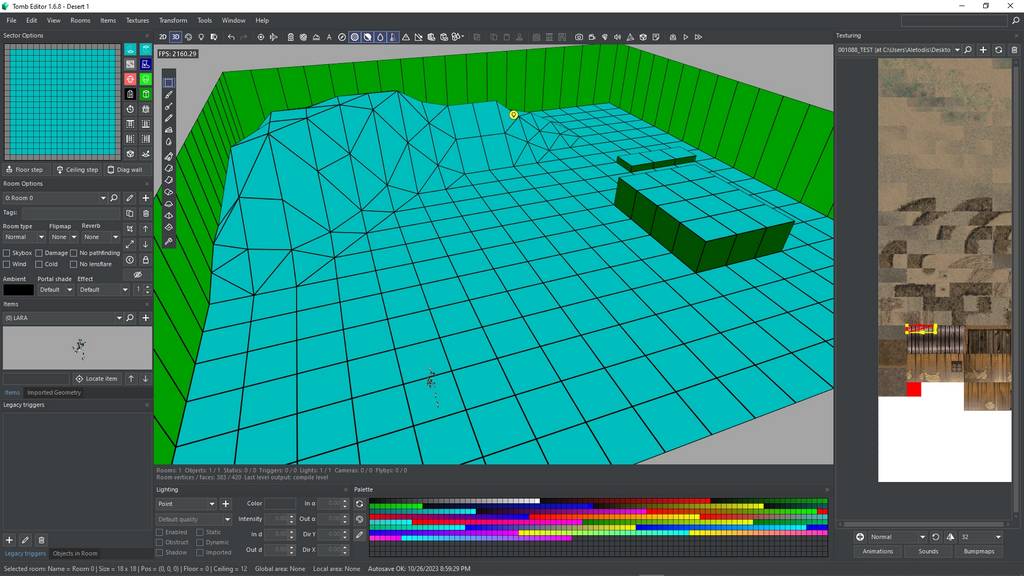
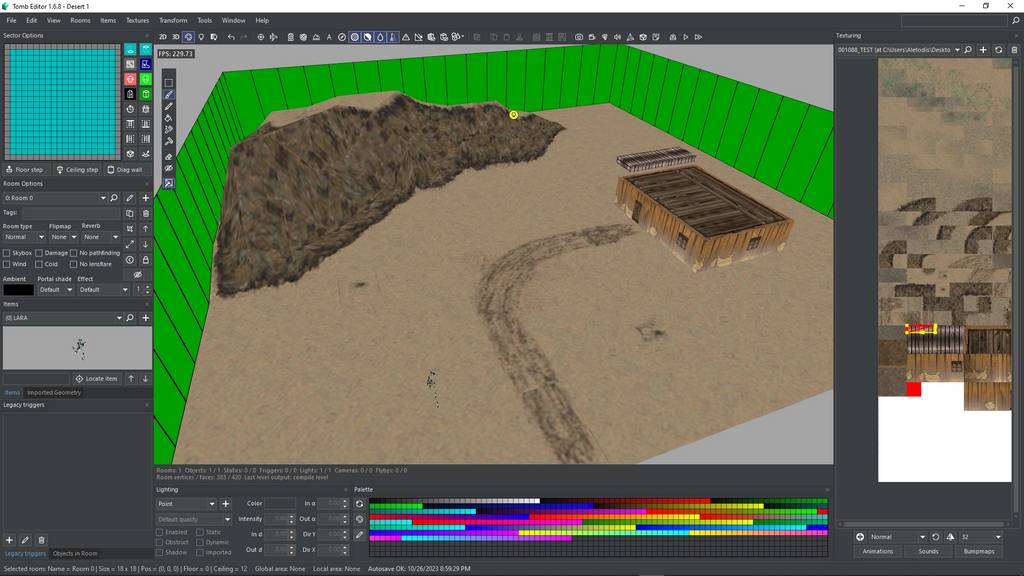
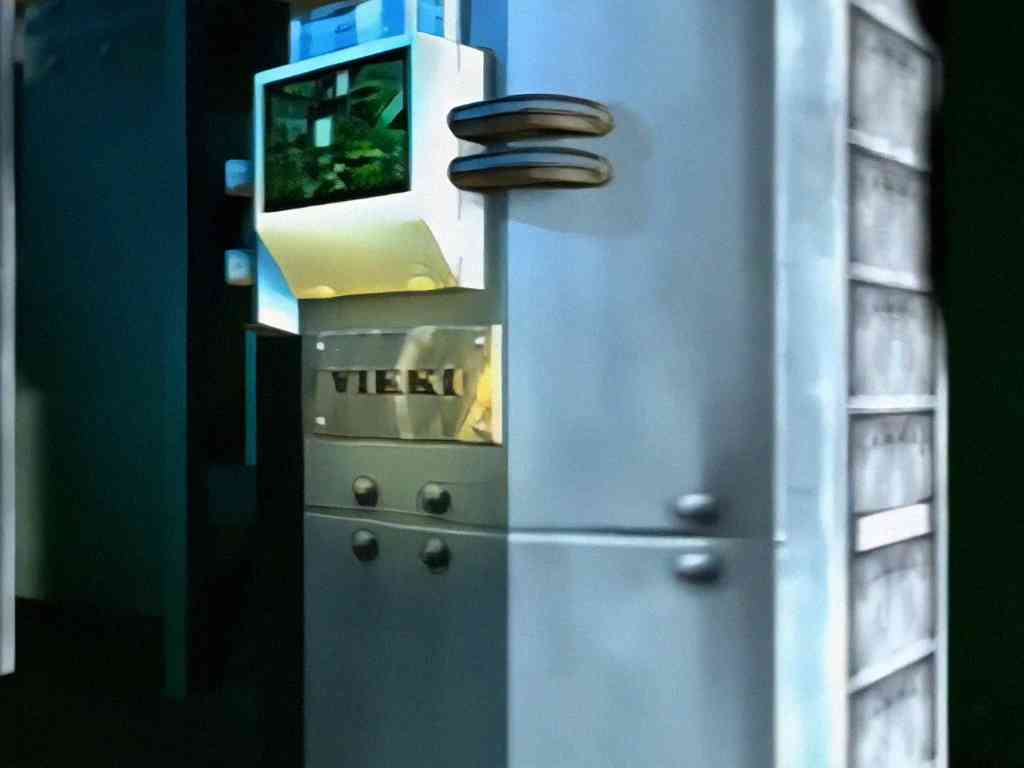
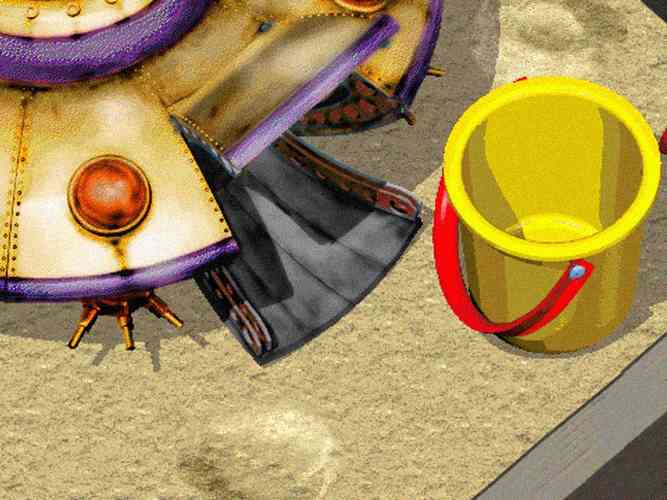
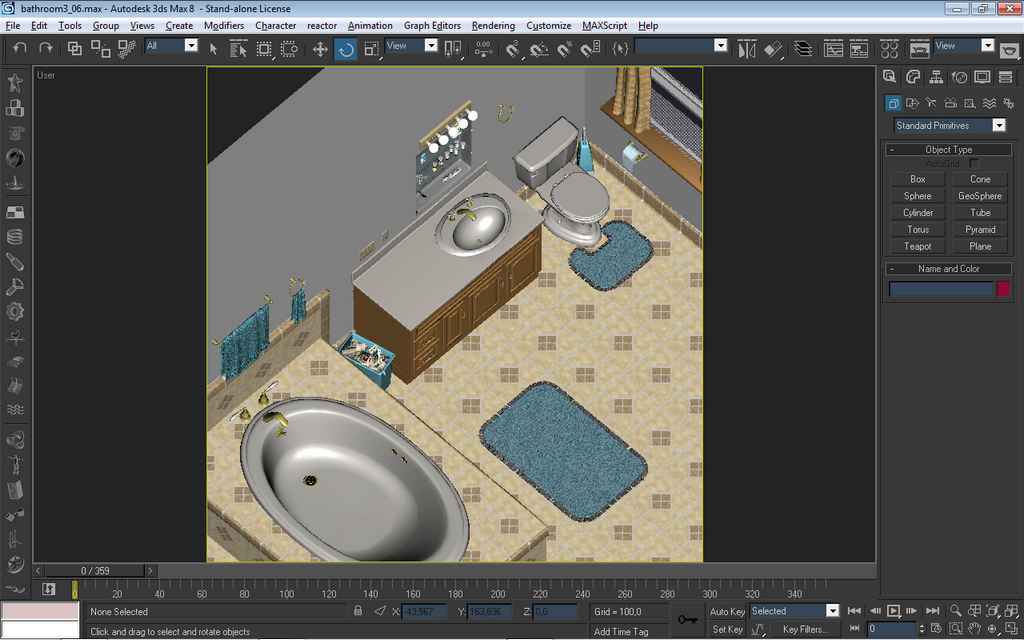
The environments followed a similar principle. Terrain tiles, buildings, and interactive objects were modeled and rendered in segments, allowing designers to piece together maps within the game editor. Lighting was baked into these renders, giving the illusion of complex shading without taxing the PC’s hardware.

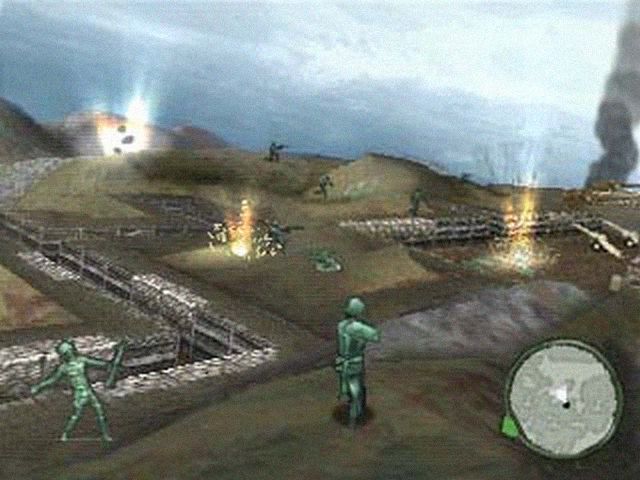
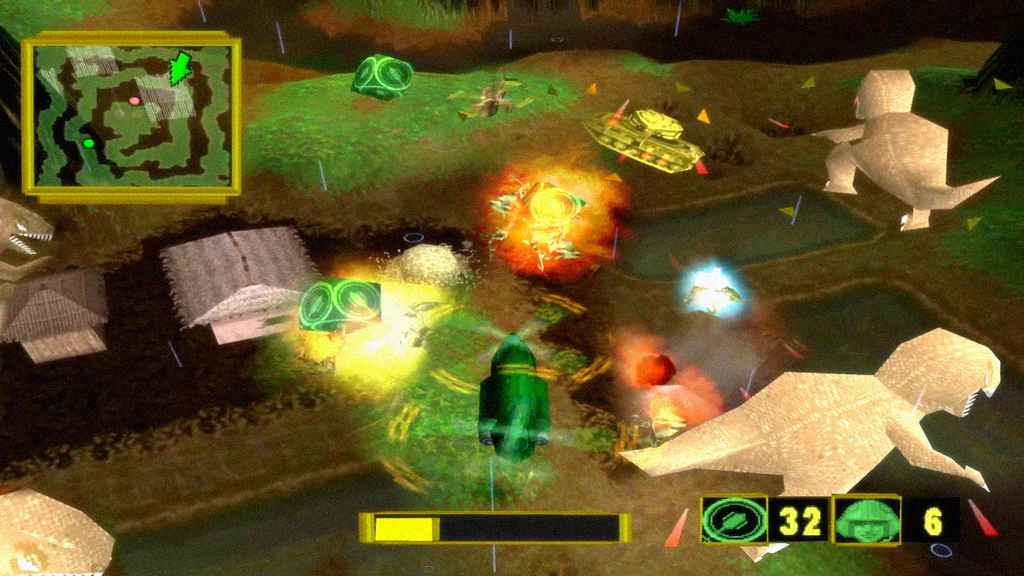
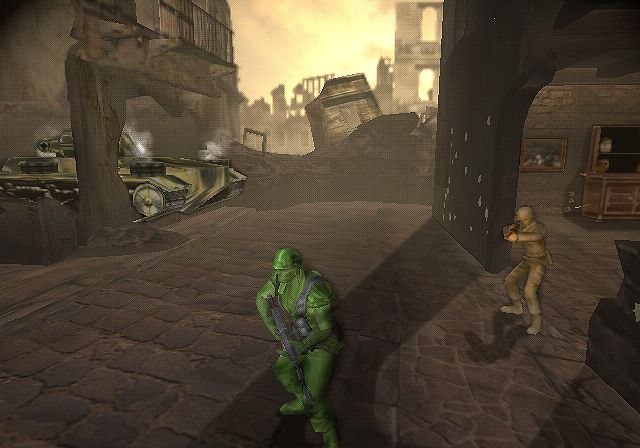
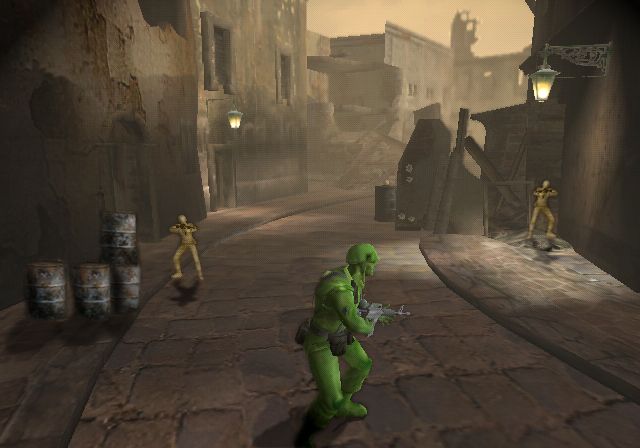
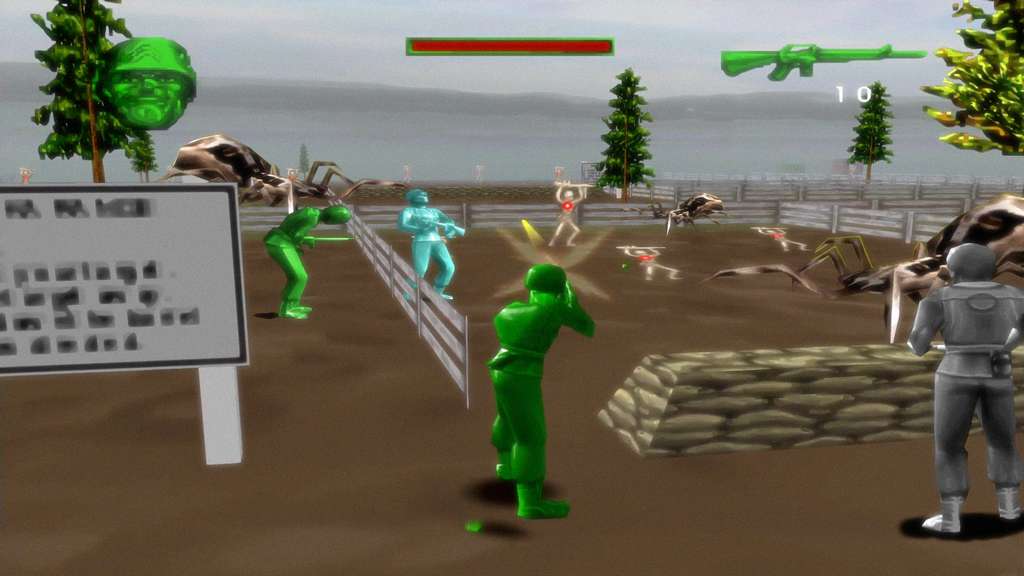
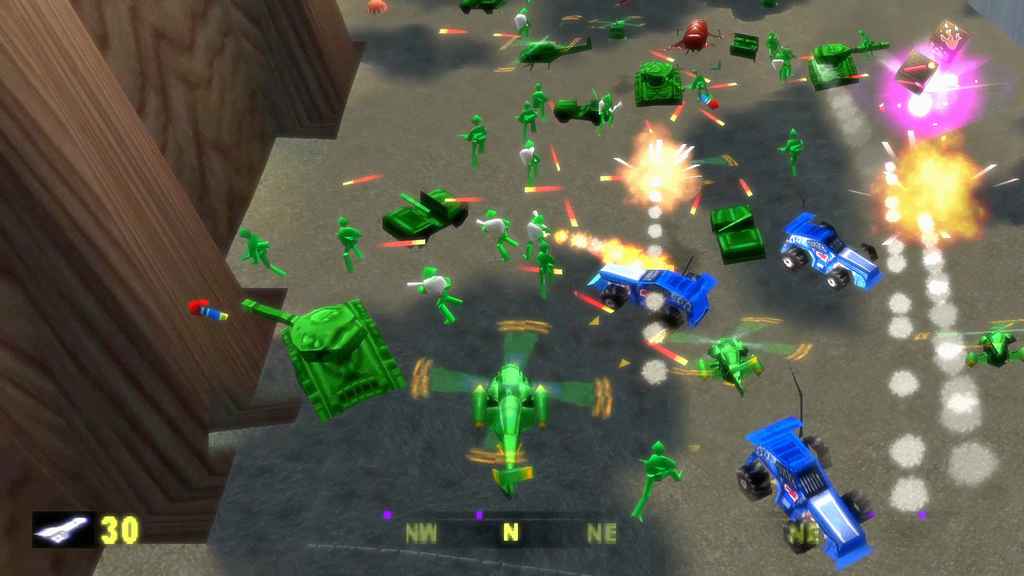
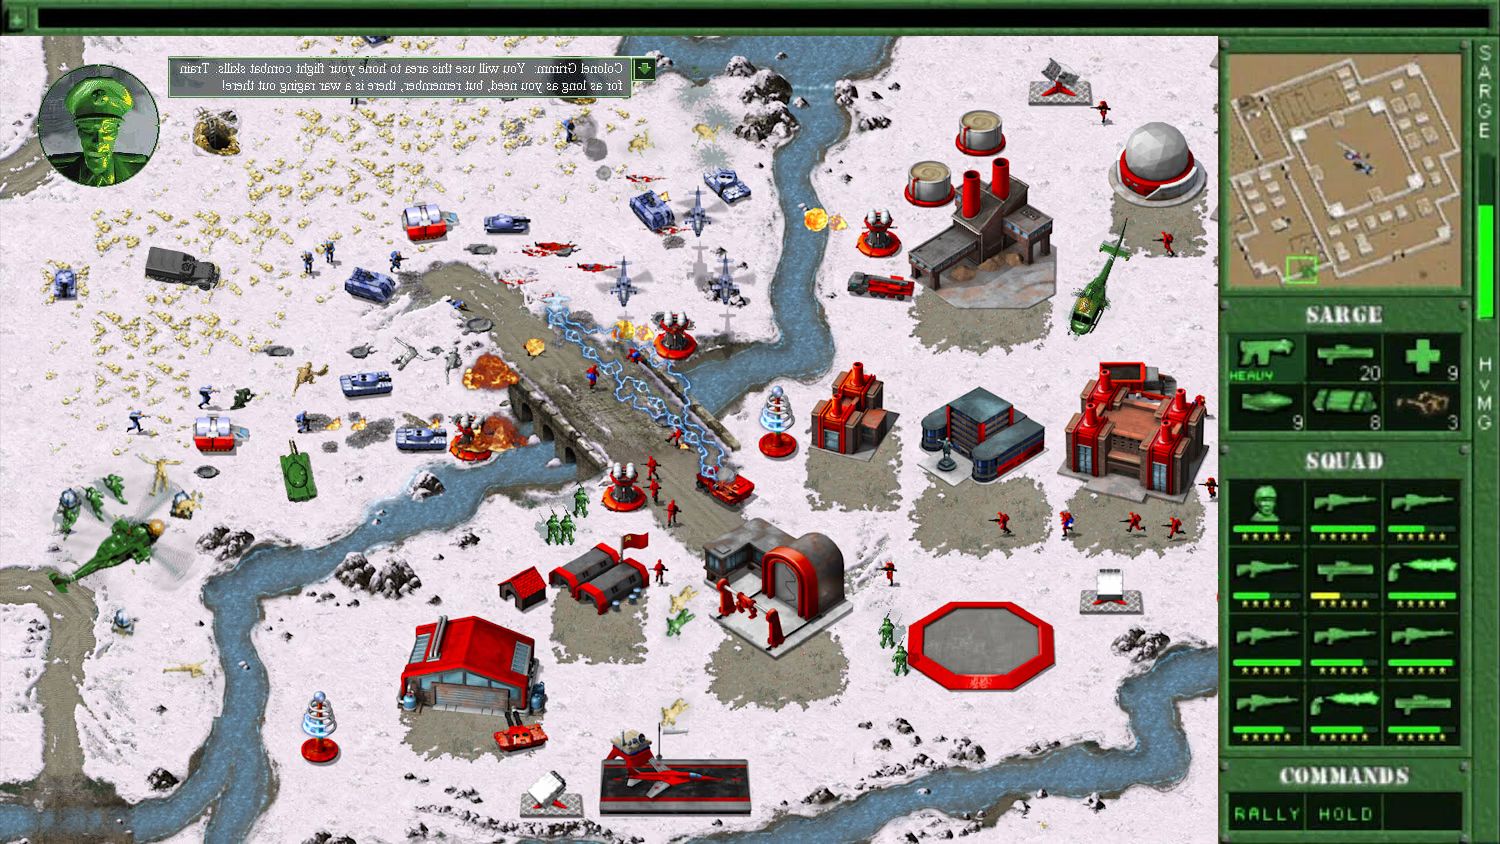
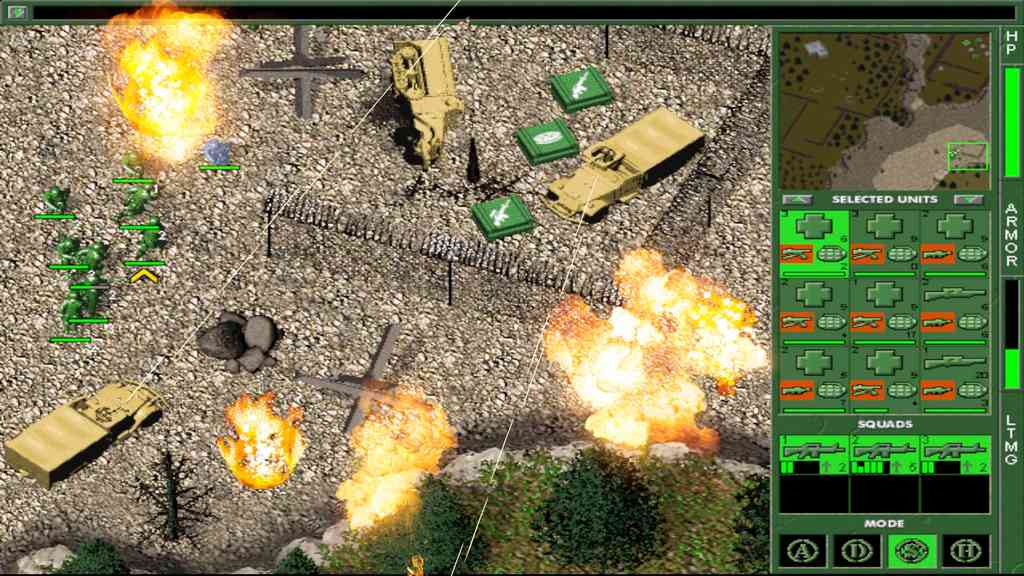
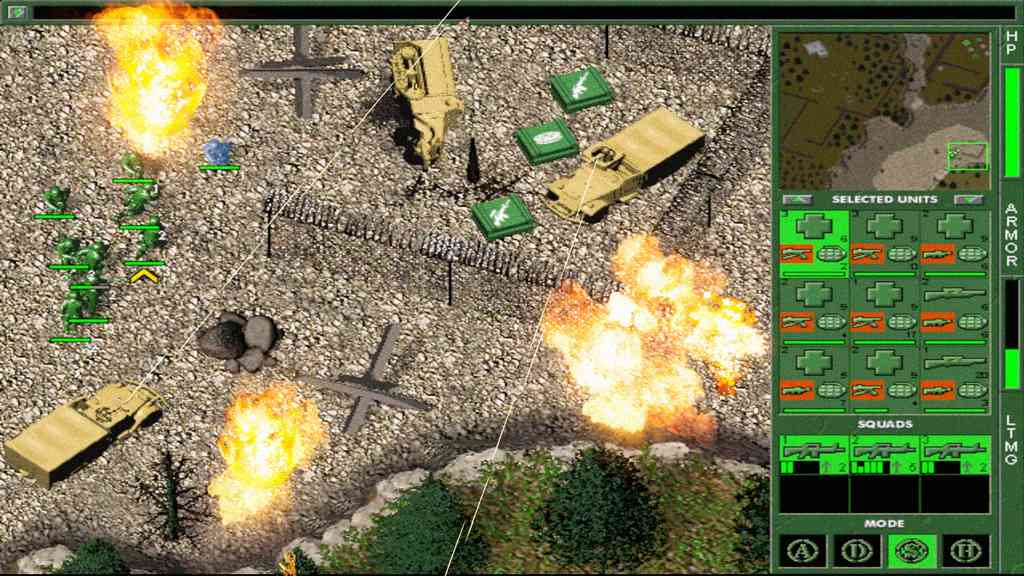
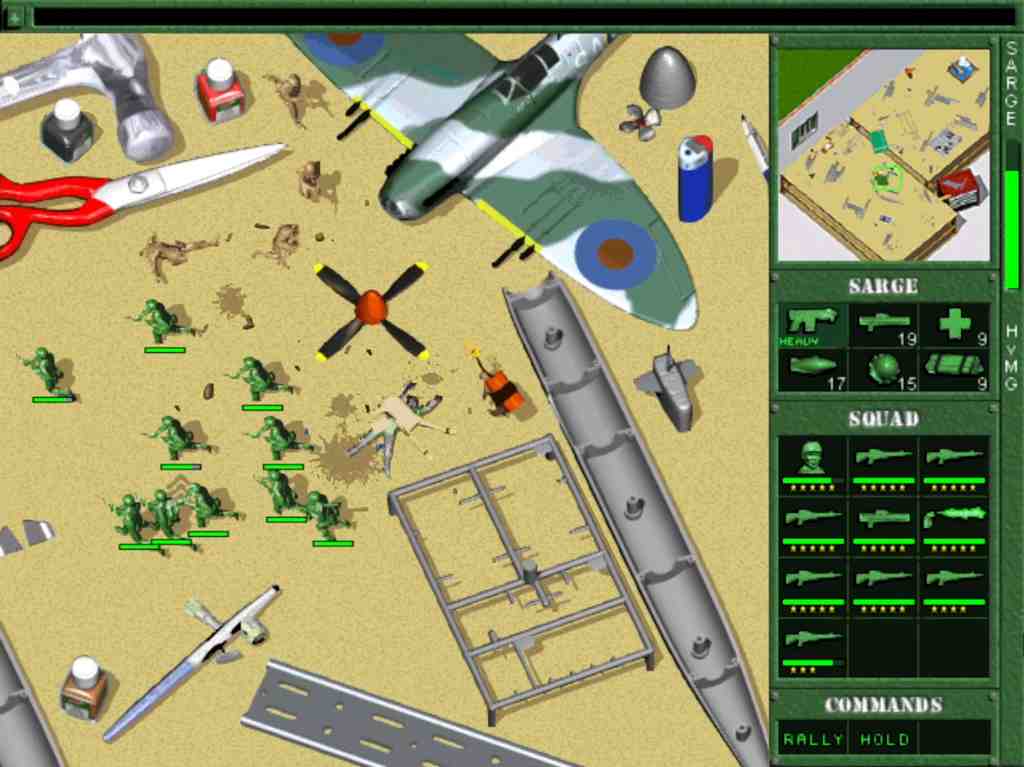
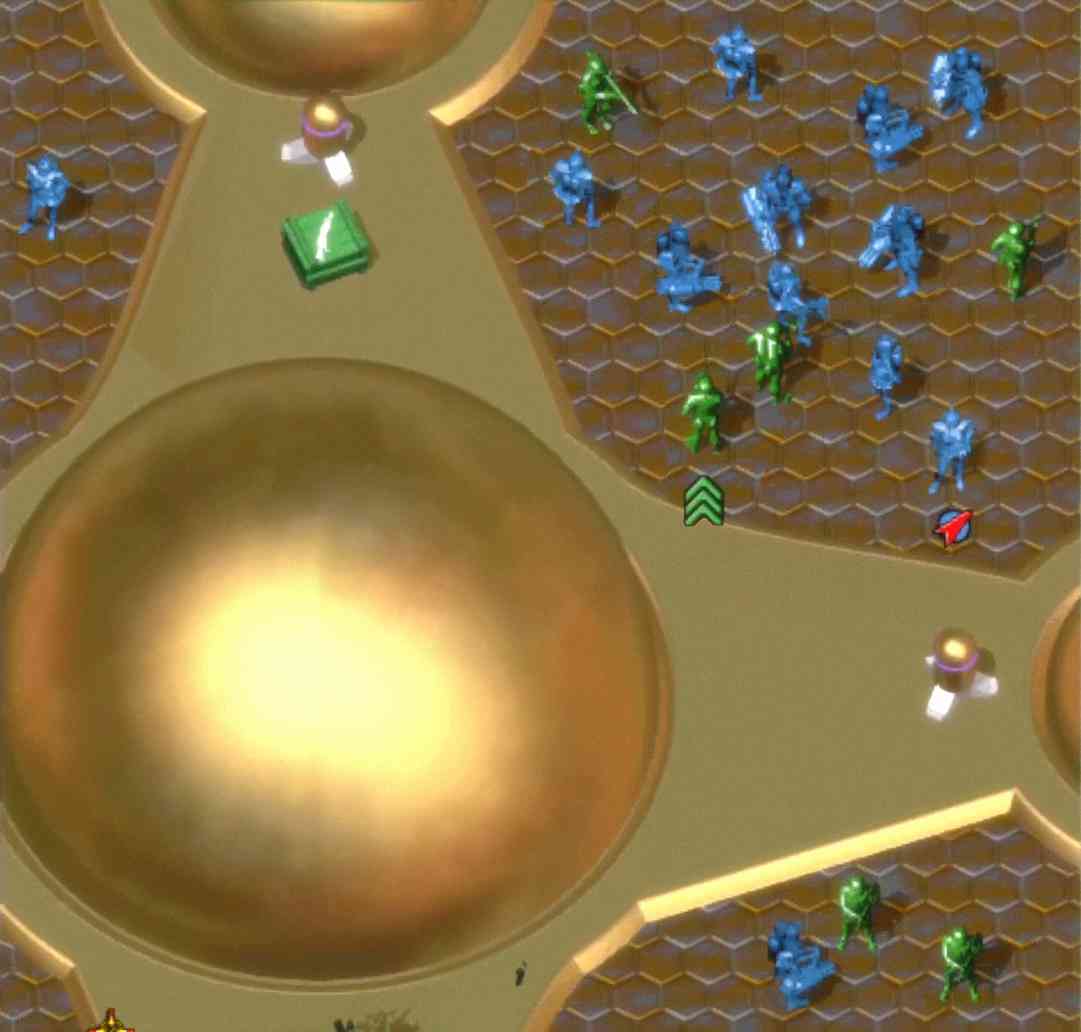
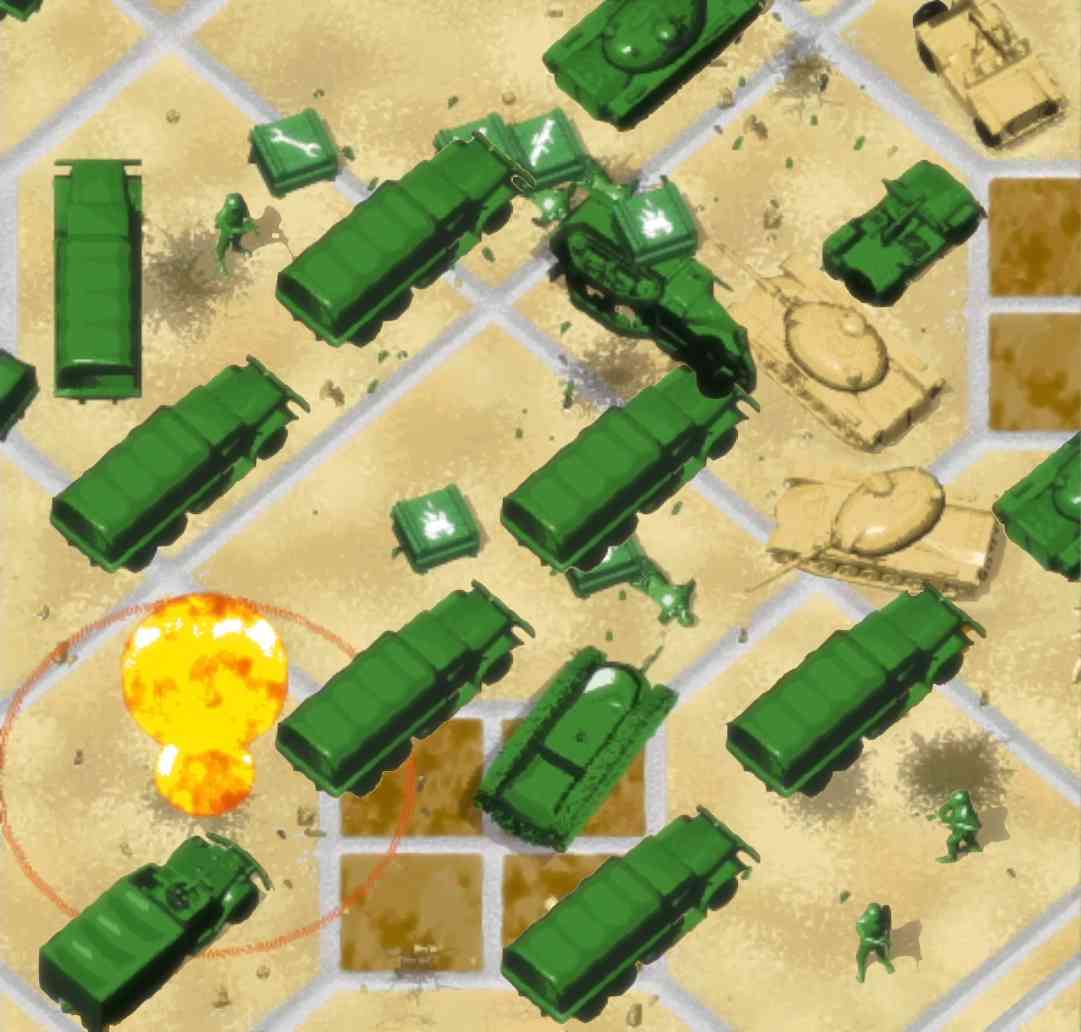
The gameplay itself was presented from a fixed isometric camera perspective, tilted at roughly a 45-degree angle. This viewpoint was carefully chosen to maximize the clarity of the battlefield while retaining a sense of three-dimensional depth. From this angle, players could easily distinguish elevation, obstacles, and the orientation of units. It also allowed artists to control exactly how models were rendered, ensuring consistent proportions and lighting across the entire game world.

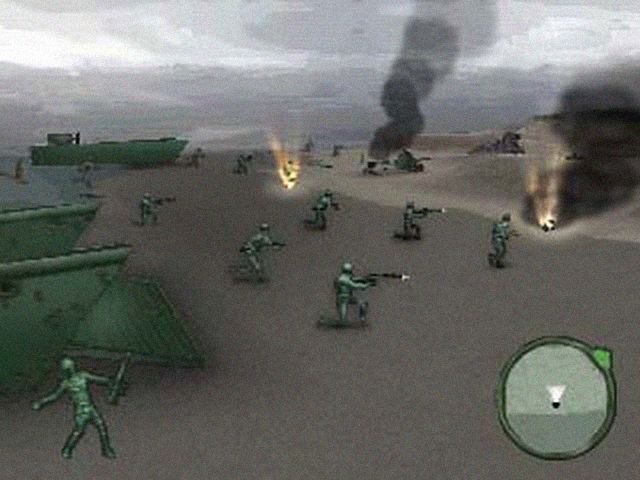
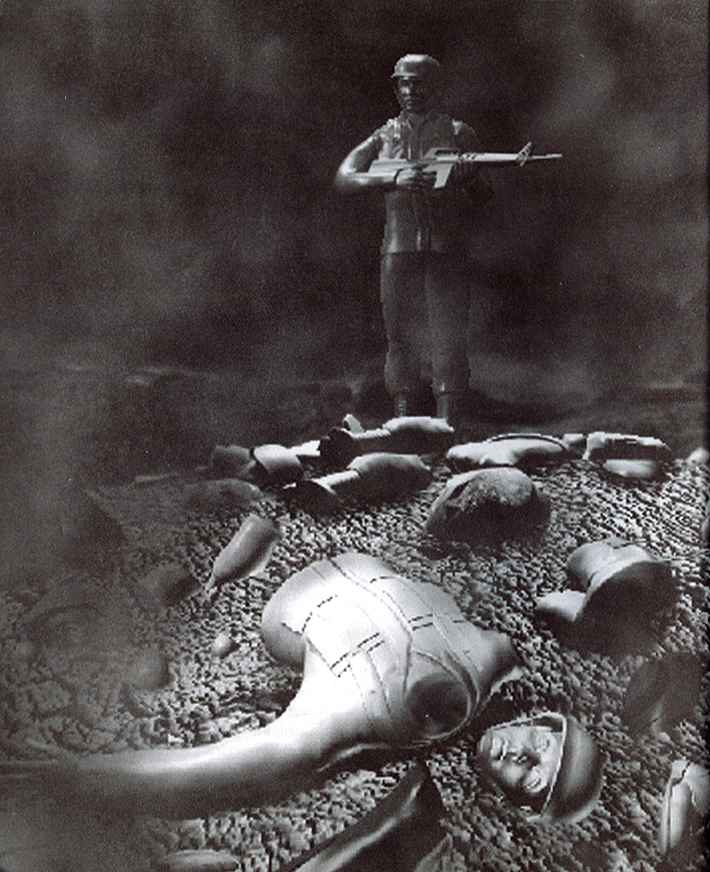
The combination of high-quality pre-rendered graphics, baked lighting, and the stable isometric viewpoint gave the early Army Men games their distinctive “miniature war” aesthetic, striking a balance between technical limitations and the highly artistic ambition of 3DO’s Trip Hawkins.

- Game environments were also modeled in 3D, but separated into terrain layers and static props.
- Terrain tiles were rendered at fixed angles to match the isometric view, then stitched together in the in-house map editor.
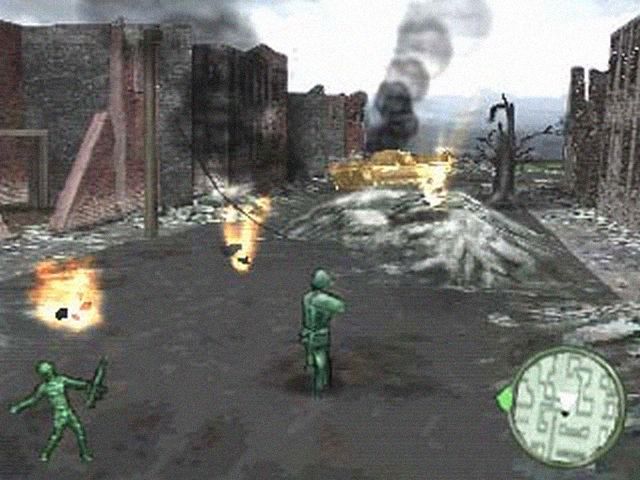
- Static objects (buildings, trees, fortifications) were rendered as isometric sprites with multiple damage states where applicable (e.g., intact, damaged, destroyed).
2.3 – Rendering Sprites
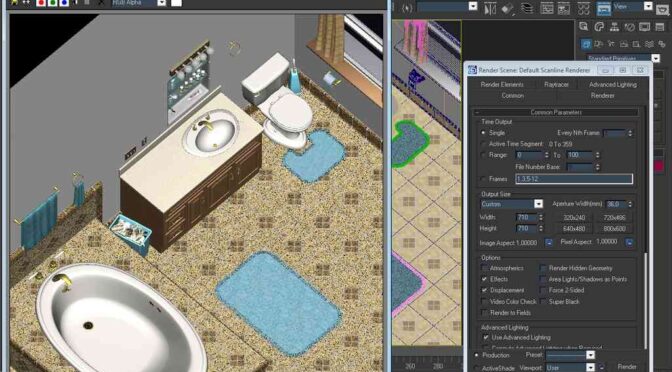
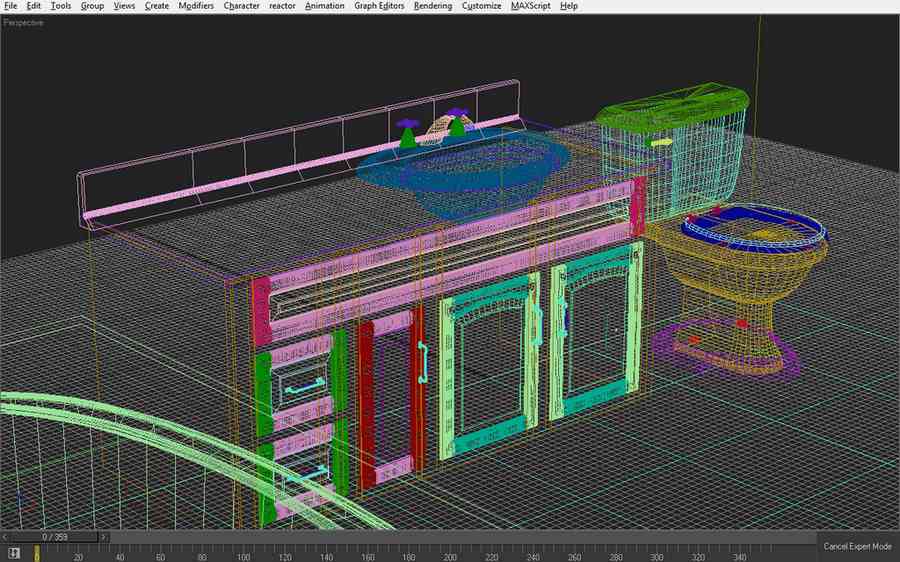
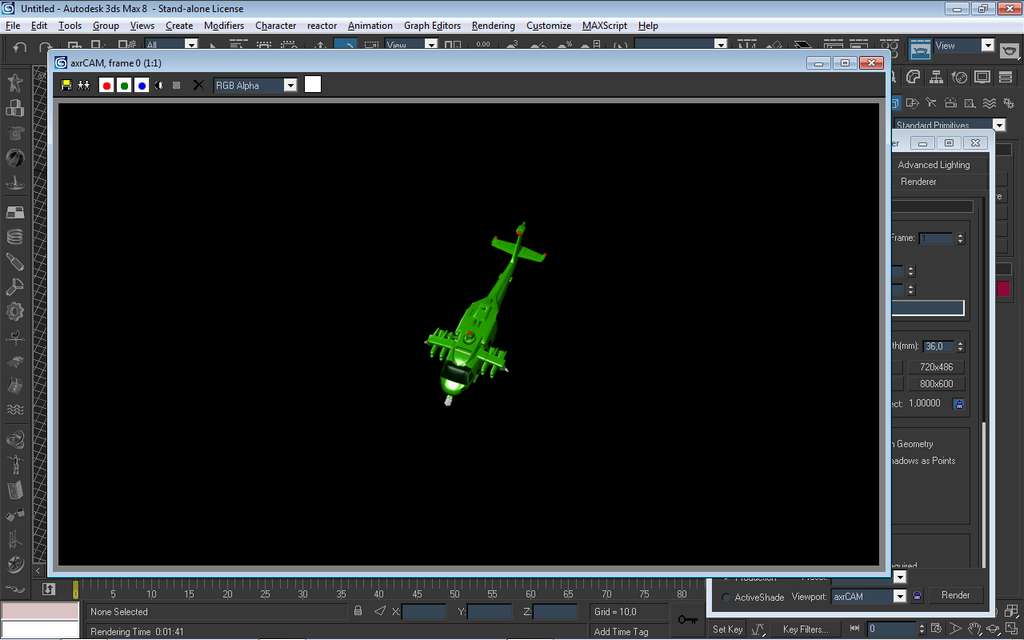
- The 3D models were placed in a rendering scene with lighting and camera settings that matched the game’s perspective.
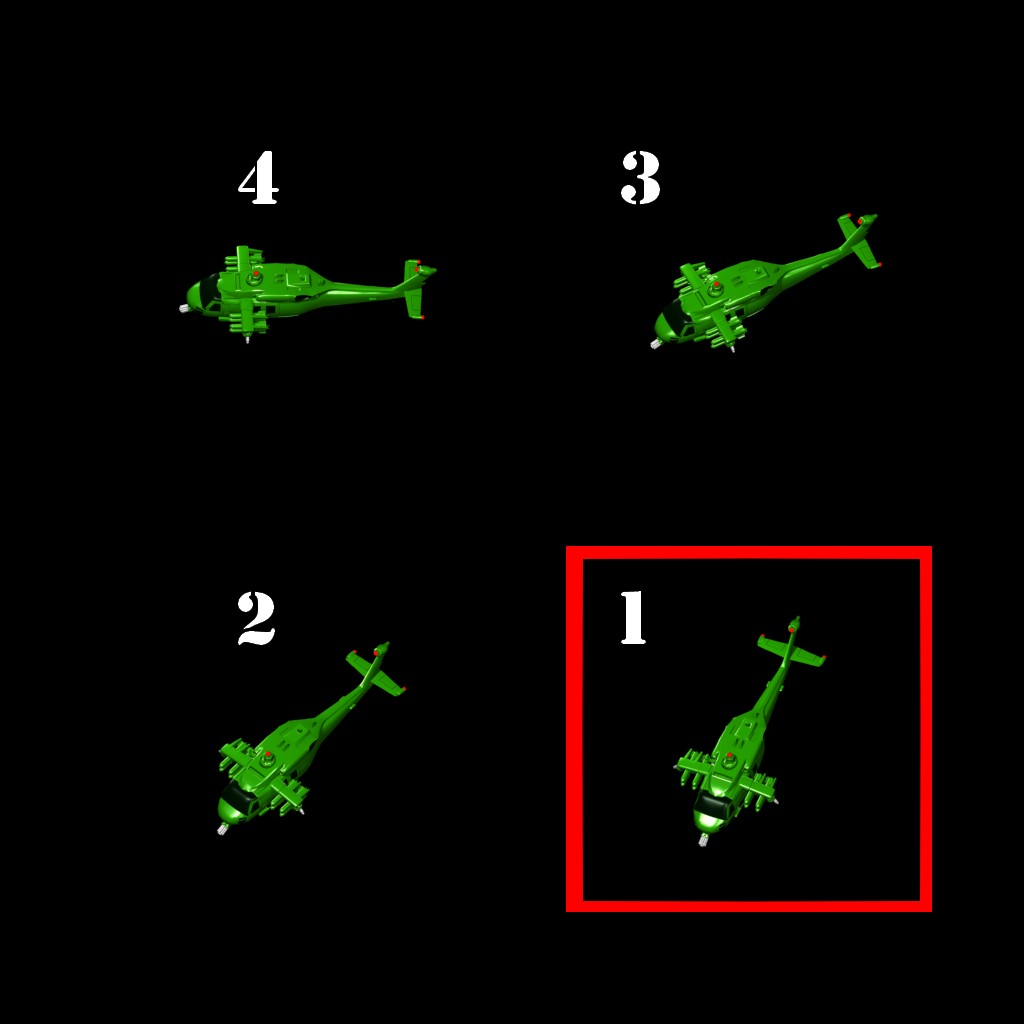
- Soldiers and vehicles were rendered in 32 or 64 different angles, depending on their importance.
- Animations (walking, shooting, reloading, turning) were rendered frame-by-frame into sprite sheets.
- Each frame was then processed to remove the background, optimize colors, and align pivot points so the engine could rotate and move them smoothly.

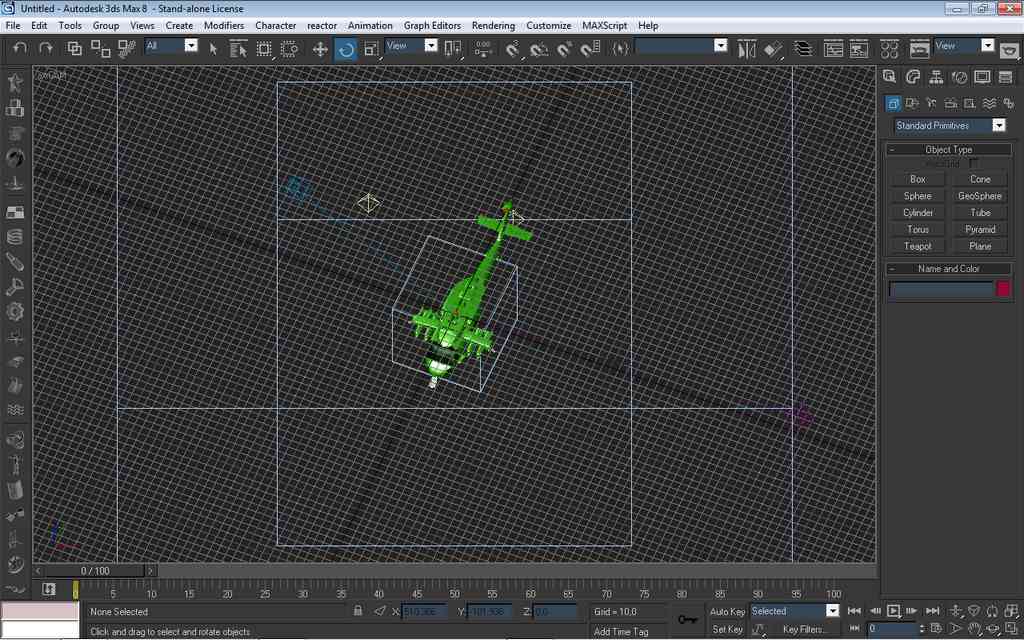

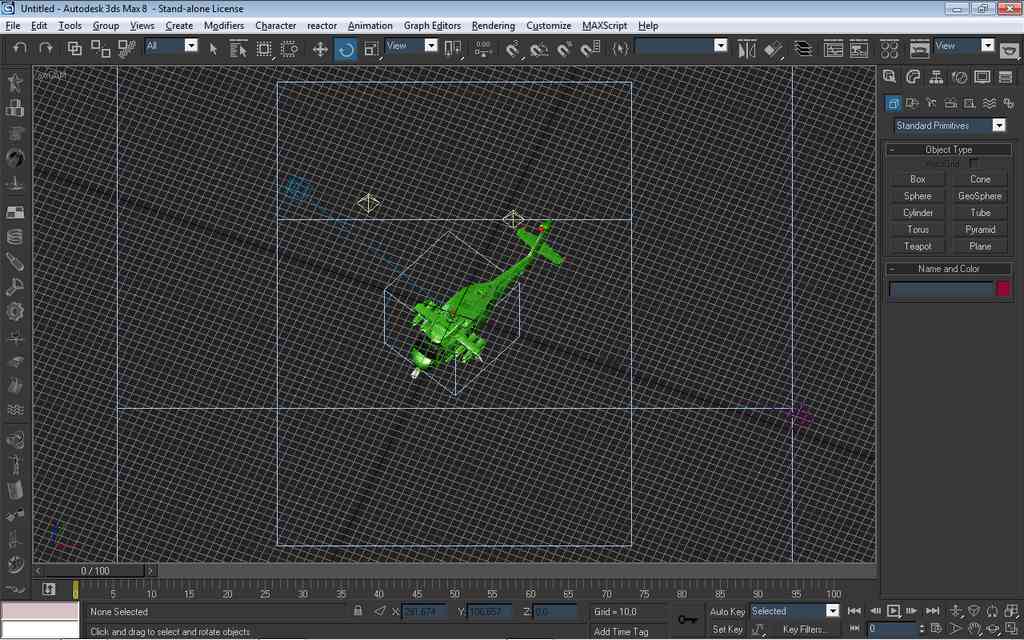

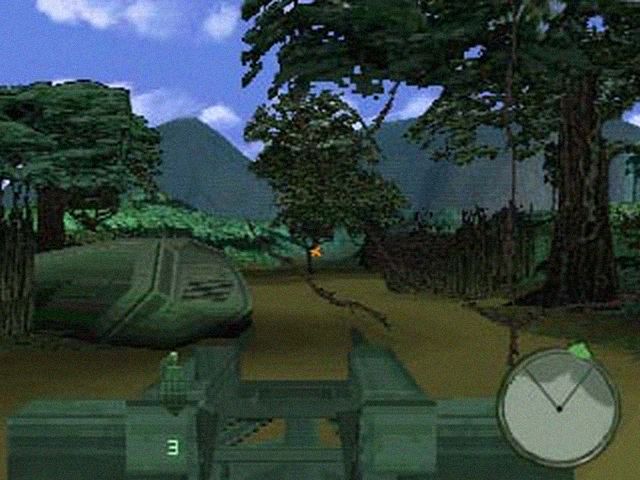
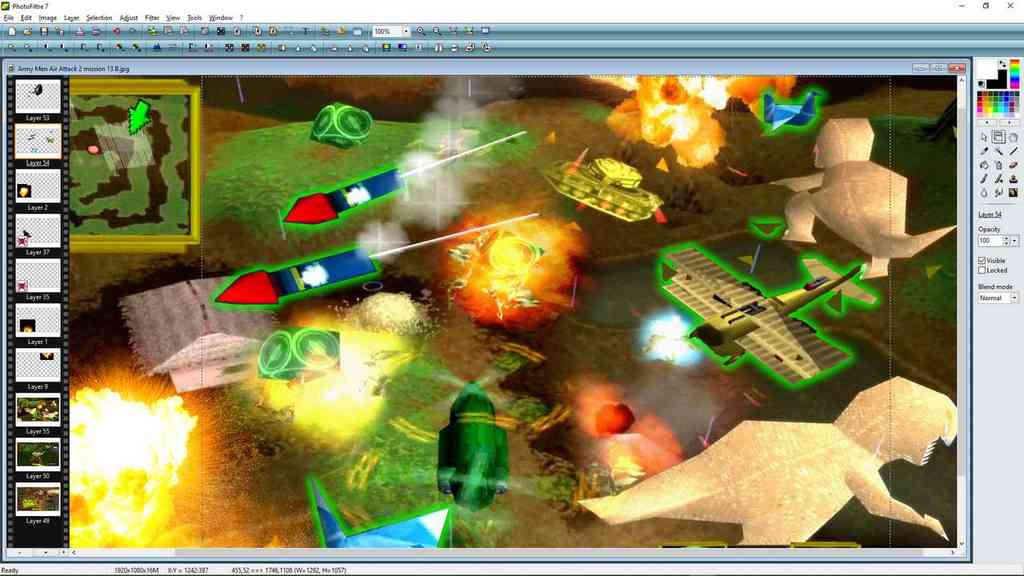
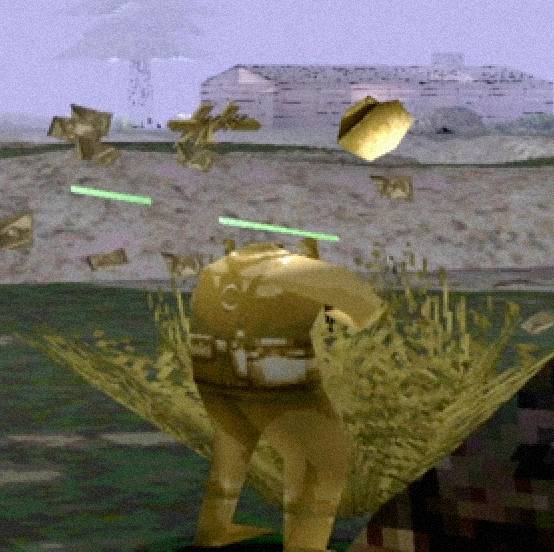
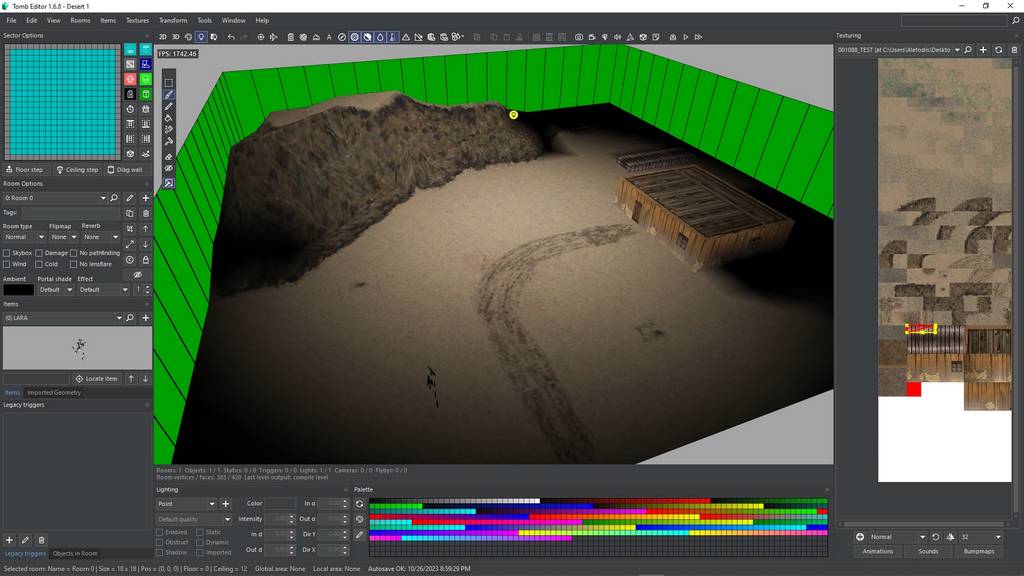
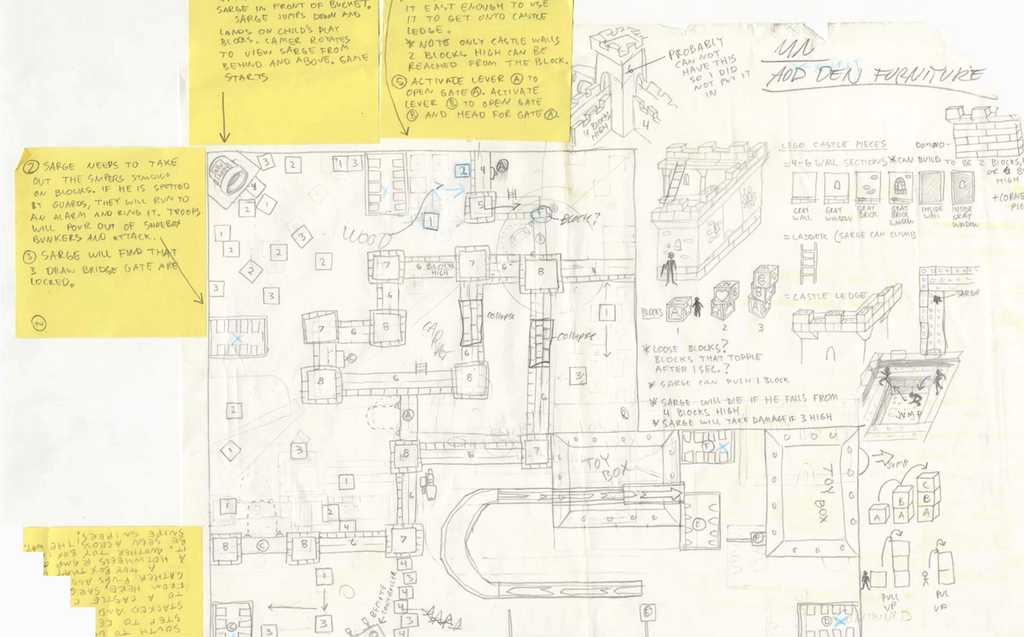
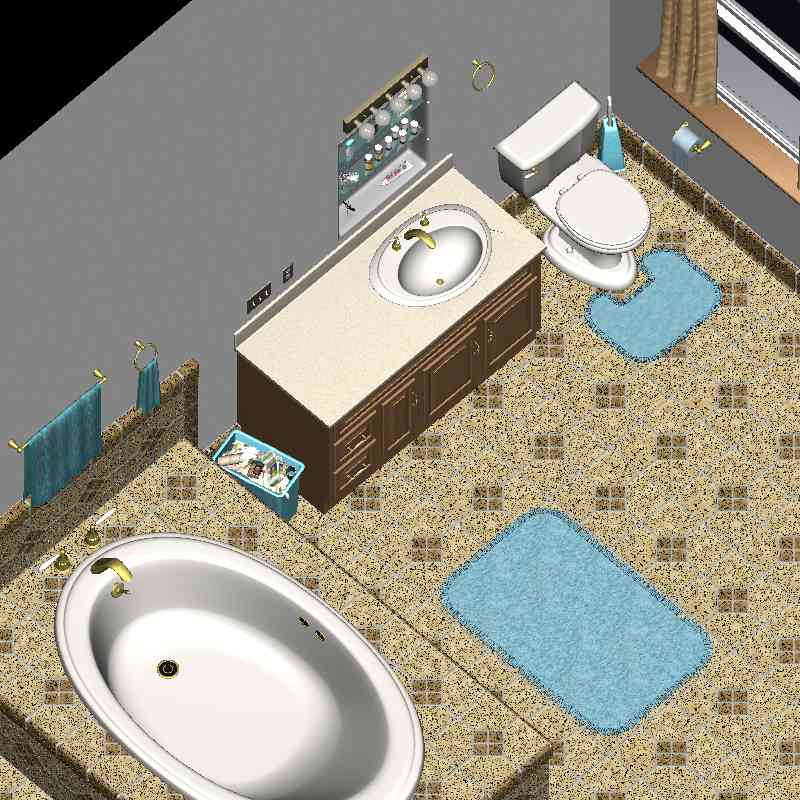
In the image below we can see the “Tile Cam,” or sprite capture position camera. A graphic that 3DO developers always kept in mind to know the angle of each of the multiple images they had to capture of each 3D model, to obtain the 360-degree motion effect of soldiers, vehicles, etc., in addition to each set of images carrying a weapon and the like. The yellow arrow, in addition to functioning as a clock hand indicating the angle of capture, also marks the height at which the camera should be positioned. The object/model goes in the center of the graphic.
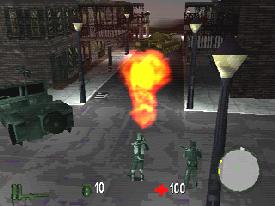
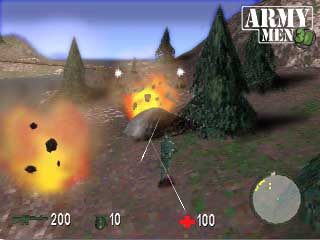
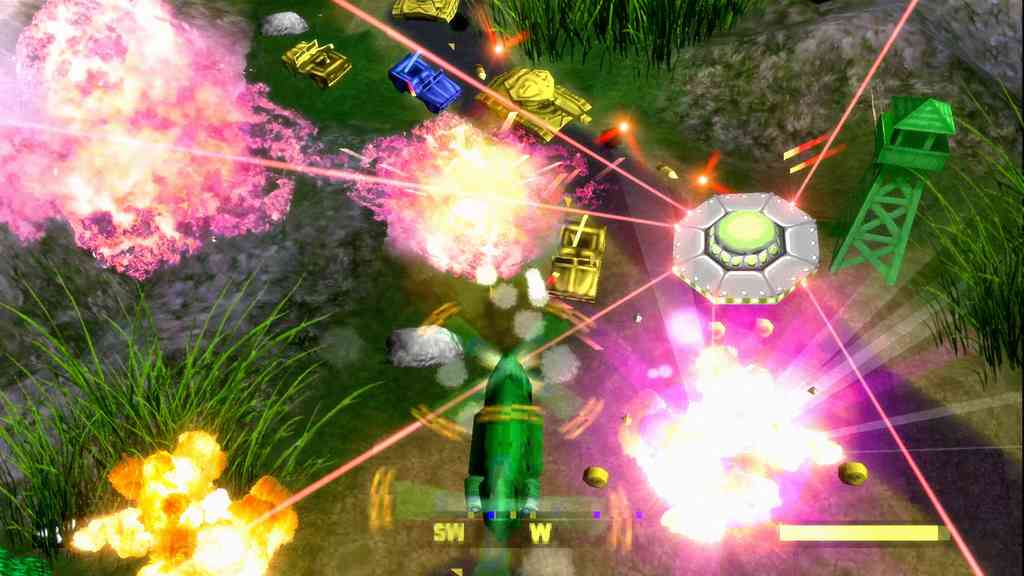
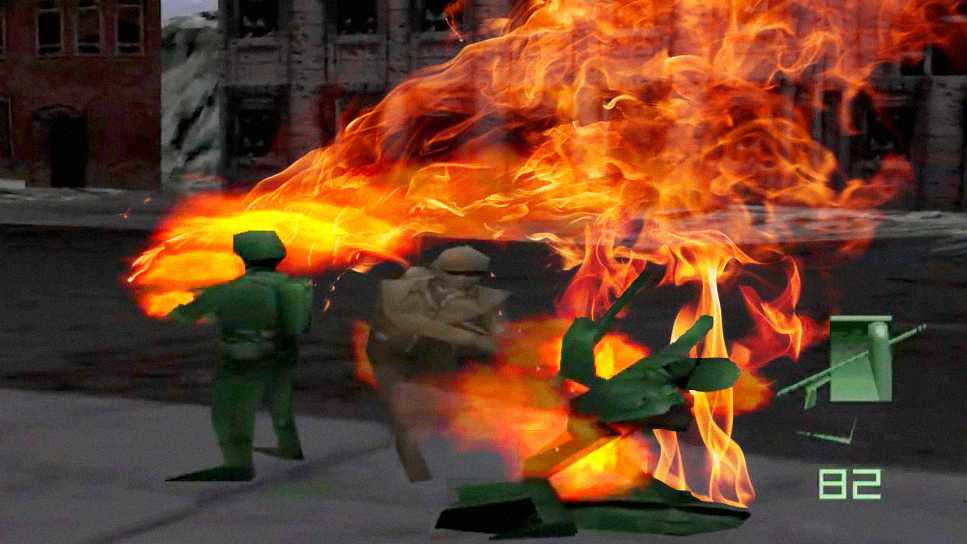
2.4 – Special Effects
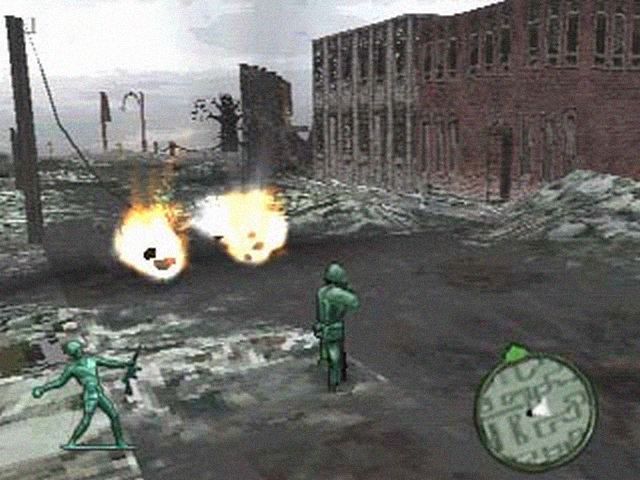
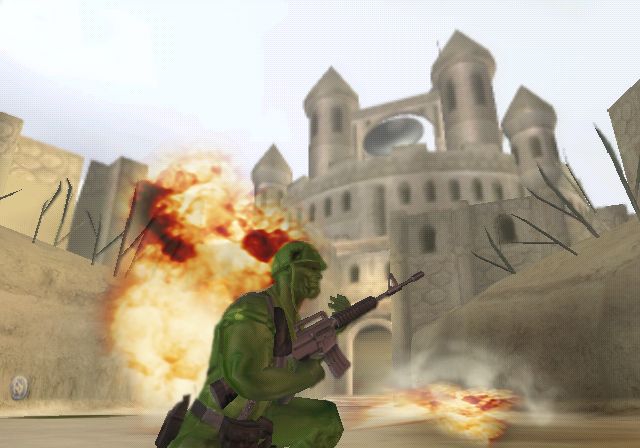
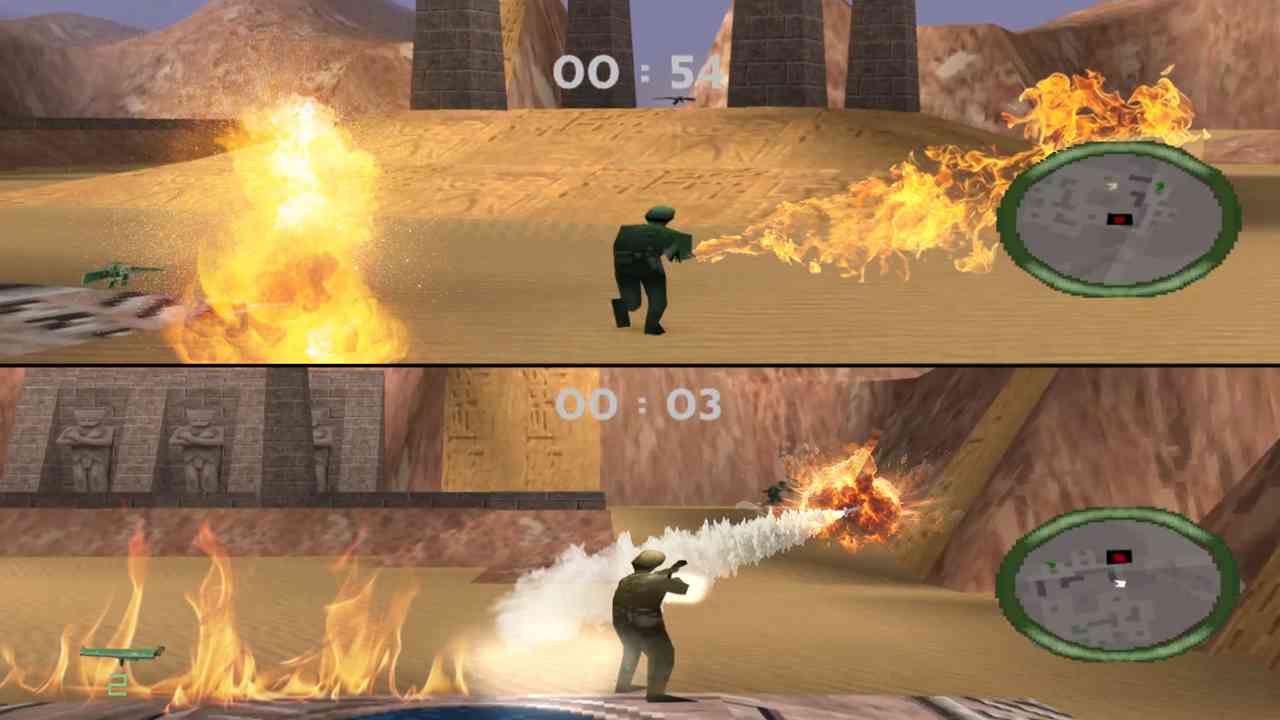
- Explosions, muzzle flashes, smoke, and fire were usually hand-drawn frame-by-frame in a pixel art program to achieve a stylized look and keep file sizes small.
- Some effects, like shadows and ambient lighting, were faked by rendering a semi-transparent dark shape beneath the units.
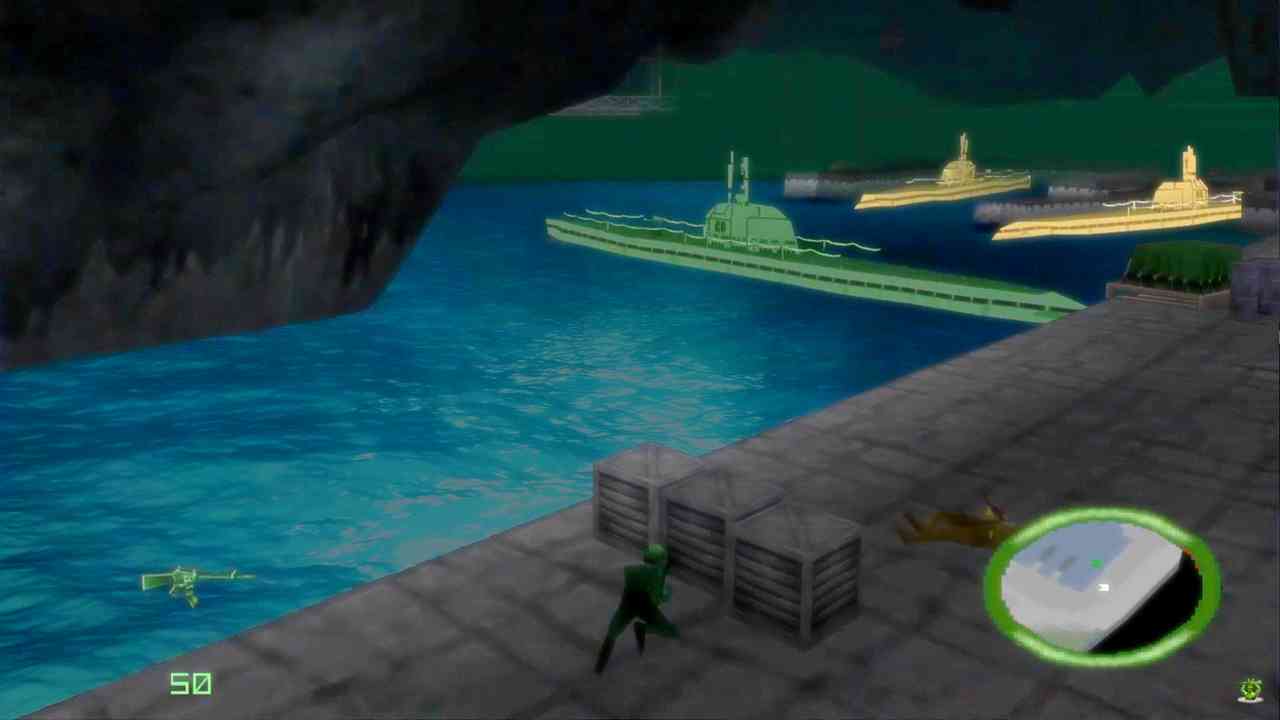
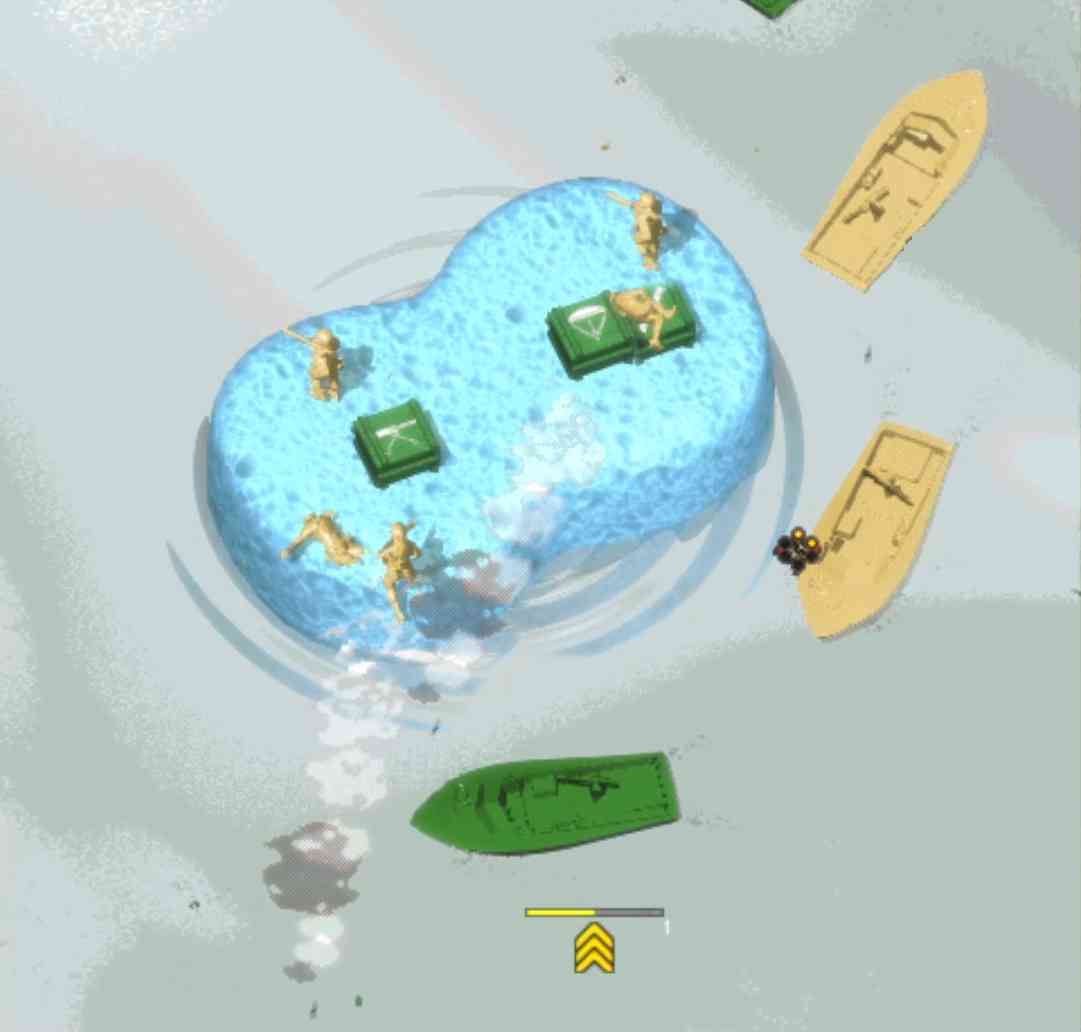
- Transparent effects (glass, water, energy shields) were simulated with dithered patterns instead of true alpha blending, to ensure performance on lower-end hardware.
2.5 – Movement and Animation Systems
- Despite being based on 3D models, all gameplay movement was sprite-based. Each unit had pre-rendered frames for each movement direction.
- The engine swapped frames quickly to simulate animation, while changing the sprite set to match the direction of travel.
- Rotation was not continuous but snapped between the pre-rendered angles, giving the characteristic “stepped” turning look.
- Collision detection was based on simplified bounding boxes rather than the full shape of the sprite.
2.6 – Integration into the Engine
- All assets (units, terrain, effects) were packed into proprietary resource files.
- The engine combined terrain tiles and object sprites in real-time, overlaying animated units and effects according to their Z-order (depth).
- Lighting changes were simulated with palette swaps, allowing entire environments to shift from day to night without rerendering the assets.
3. Maps and Levels
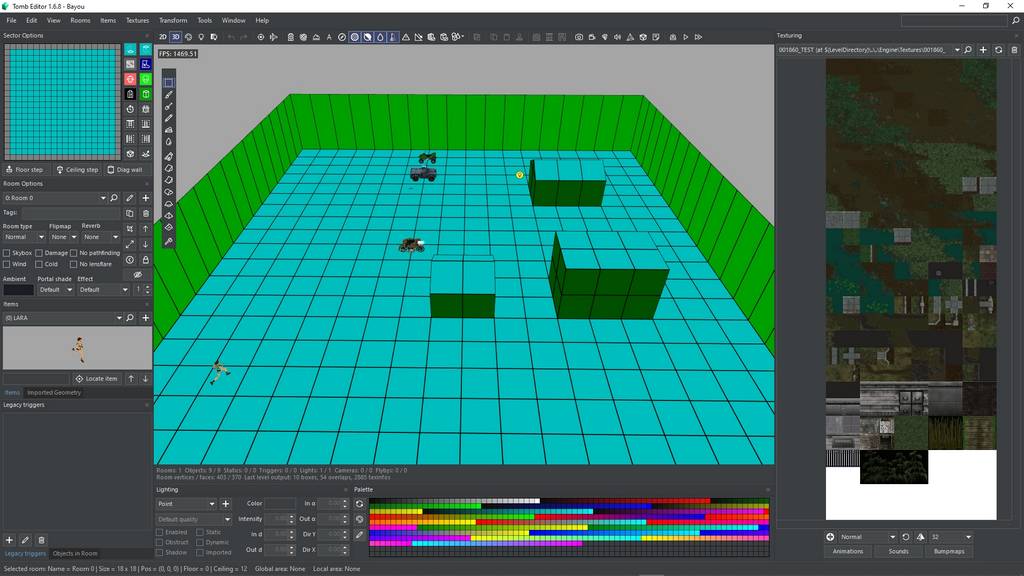
Environments were built using an in-house proprietary editor designed specifically for the Army Men engine.
This editor allowed placement of terrain, static objects, and “event points” (enemy spawns, mission scripts, sound triggers).
Maps were generally small to keep loading times low and were often connected through transition screens or cutscenes.
4. Programming and Engine
The Army Men engine was an evolution of a framework that 3DO had already used in other strategy and action games.
It supported:
- Pseudo-3D sprites and pre-rendered rotations.
- Multiple terrain layers to simulate elevation.
- Basic AI scripting and enemy behavior.
- The code was primarily written in C/C++, with auxiliary tools in Visual Basic for resource conversion and packaging.
4.1 – How camera, pathfinding, and depth sorting worked
Since that’s what made Army Men’s isometric view feel dynamic despite being built entirely from static sprites. That part connects directly to how the movement system was implemented.
The isometric camera itself was fixed in angle but could pan across the battlefield. Camera movement was tied to mouse edges or keyboard input, and it followed a smooth scrolling pattern to maintain player orientation. Since the camera never rotated, all sprites could be pre-rendered from the same set of angles, greatly reducing memory use and production time.
Pathfinding relied heavily on an A* (A-Star) algorithm adapted to the isometric grid. The system calculated optimal routes while accounting for terrain type, impassable objects, and unit collision. Because maps often featured elevation changes (ramps, cliffs, and bridges) the pathfinding system also factored in “height layers,” preventing units from attempting impossible routes. This was especially important for vehicles, which had stricter movement constraints than infantry.
Depth sorting (deciding which objects should appear in front of or behind others) was handled through a “Y-sorting” system. The engine drew objects in order of their Y-coordinate in world space, meaning that units lower on the screen (closer to the player’s viewpoint) would be rendered on top of those further back. This simple yet effective technique ensured consistent layering without the need for real-time 3D z-buffer calculations.
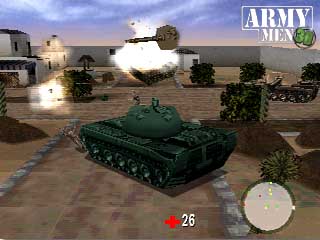
4.2 – Movement, Interaction, and Technical Implementation in the Isometric Engine
The fixed isometric perspective of the early Army Men titles was not just a visual choice.. it directly influenced how movement, interaction, and gameplay logic were implemented.
Unit movement was handled on a 2D coordinate grid that corresponded to the isometric map’s tile layout. Each tile represented a fixed unit of space, but because the camera was angled, the game had to apply a transformation to convert “world” coordinates into their isometric screen positions. This meant that while players saw units moving diagonally across the battlefield, the game internally calculated their positions in standard X-Y Cartesian space.
Interaction with the environment followed a “selection → command → execution” model. When the player selected a unit, the game temporarily highlighted its sprite and displayed its selection circle, a 2D ring projected onto the ground plane. Issuing a movement or attack order triggered an internal check: the game verified whether the destination tile was valid, whether the target could be reached, and whether line-of-sight was available (a simplified visibility check rather than true 3D ray tracing).
Together, these systems created a smooth and intuitive gameplay experience despite the limitations of late-90s PC hardware. The isometric rendering allowed for highly detailed graphics, while the underlying grid-based logic kept gameplay predictable, readable, and strategically satisfying.
5. Testing and Optimization
Testing was intensive because different PC systems required different optimizations to work. Back then, consoles were a single, unified system, but on PC, there are multiple different systems that require tweaking the game for proper universal operation. At that time, the game that was launched usually was the final version, with no DLC to fix the game post-launch. Although patches did exist, usually just one. Everything was always released in physical format…
On consoles, animation frames, polygonal 3D objects and texture details were reduced, and sometimes entire environmental elements were removed. But in this 2.5D games, usually was a matter of programming tweaking and fixing.
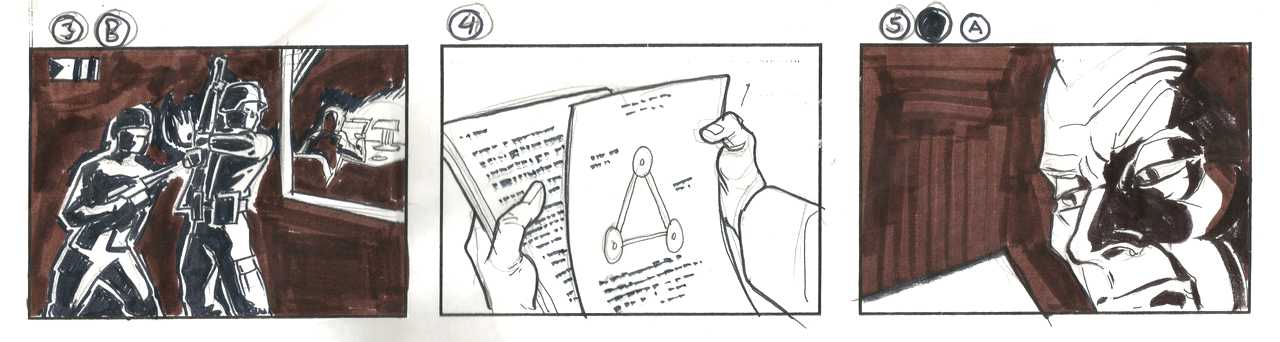
Testers reported bugs using printed screenshots (yes, on paper) with handwritten annotations.